Why Planning Is the Real Budget Skill
Most home improvement projects don't go over budget because of bad luck - they go over because the planning phase was rushed or skipped. A leaky faucet turns into a cabinet replacement; a patch job reveals hidden water damage. The repair snowballs, and suddenly you're spending three times what you expected.
Strong planning means walking into any project with a clear scope, a realistic cost estimate, and an honest assessment of your own skills. It also means deciding, upfront, what you're willing to learn and what's better left to a licensed tradesperson.
If you're also working on your overall financial picture, a solid budgeting foundation helps enormously. See our introduction to budgeting for a practical starting point before allocating funds to home projects.
Start With a Written Project List
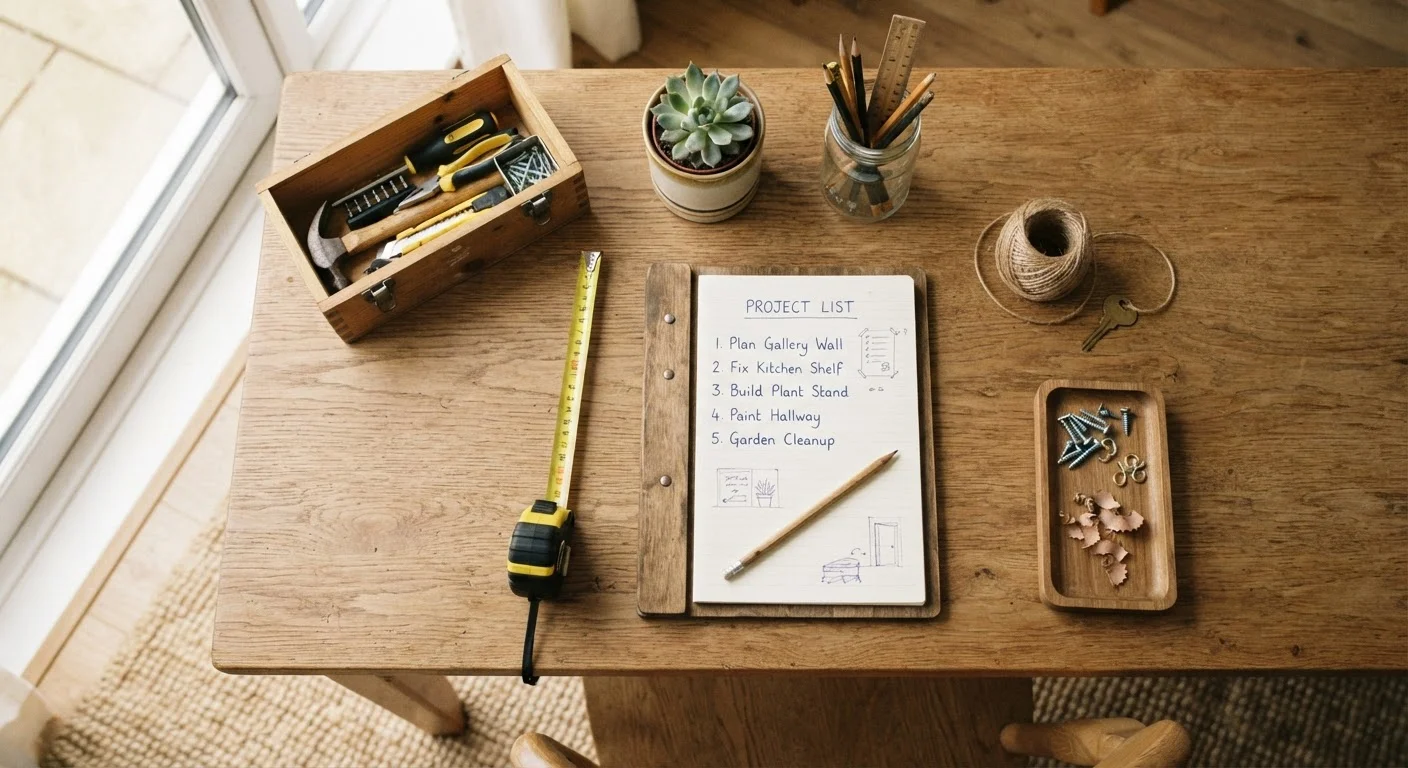
Write down every home task you've been putting off - repairs, upgrades, and cosmetic changes - before you prioritise or budget anything. Seeing everything on paper often reveals patterns: multiple small plumbing issues that point to one systemic fix, or cosmetic wishes clustered around one room. A full list also prevents the 'while we're at it' creep that inflates project costs mid-way through.
Prioritising Projects: Needs Before Wants
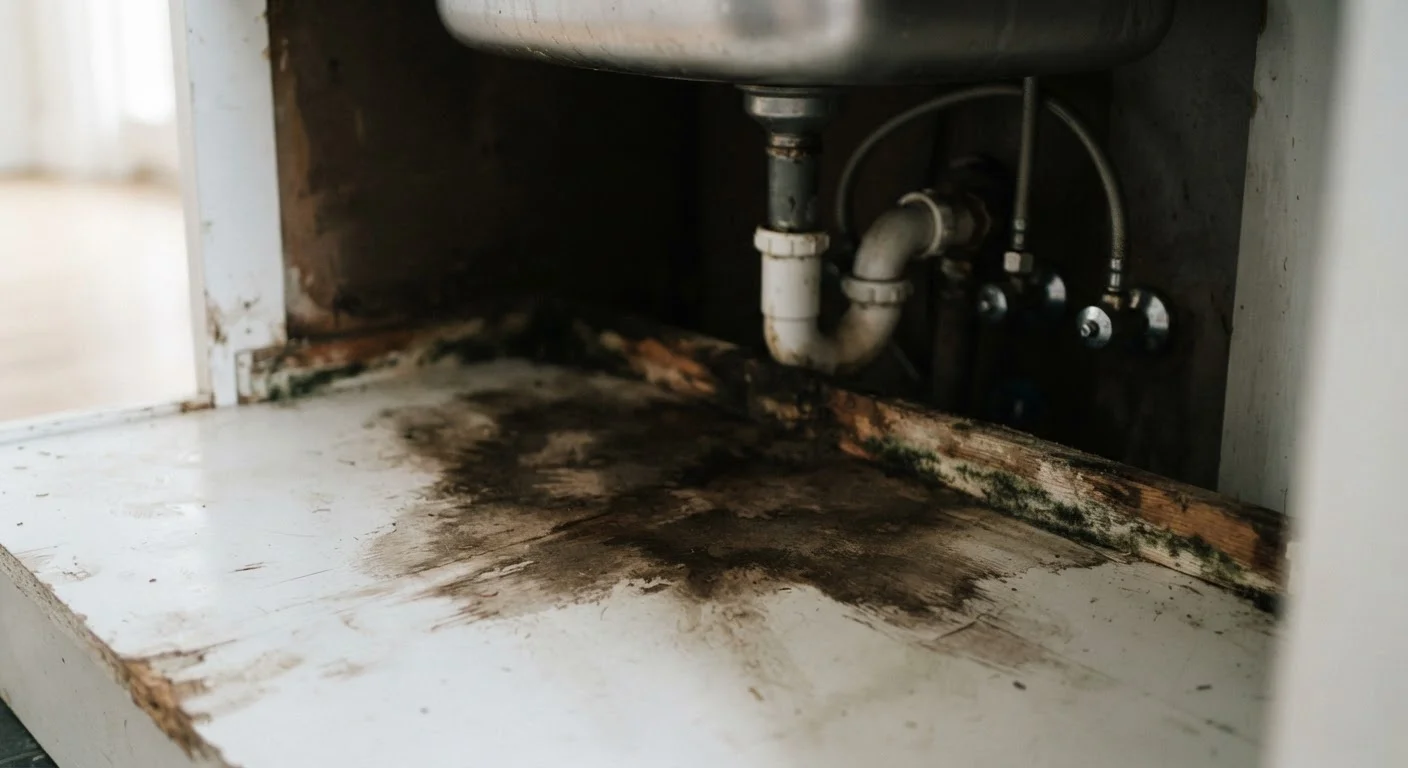
The fastest way to waste money on home improvement is to spend it on aesthetics while ignoring underlying problems. Freshly painted walls look great - until the moisture behind them causes bubbling and mould six months later.
Use a simple priority framework:
- Safety and structural issues first. Faulty wiring, roof leaks, foundation cracks, and gas-related concerns are non-negotiable and tend to worsen if deferred. Our article on what slow leaks can cause over time shows how quickly a minor drip can escalate.
- Functional repairs second. Anything affecting daily habitability - a broken HVAC, non-functional plumbing, or a failing appliance - comes before cosmetic upgrades.
- Energy efficiency improvements third. Sealing drafts, improving insulation, and upgrading weatherstripping often pay for themselves over time through reduced utility costs.
- Cosmetic improvements last. Fresh paint, new fixtures, and updated decor are satisfying, but they don't protect your home the way maintenance does.
Before you spend anything, do a room-by-room audit. Our room-by-room audit checklist helps you identify what each space actually needs before committing to changes.
35%
Projects that exceed initial budget
Industry surveys on residential renovation consistently find that roughly one-third of homeowner projects run over the original estimate, typically due to hidden conditions or scope changes.
15-20%
Recommended contingency buffer
Most construction and renovation professionals advise setting aside 15-20% above quoted costs to absorb unexpected expenses on any home project.
3x
Cost multiplier when repairs are deferred
Home inspectors commonly note that ignored maintenance issues - particularly water-related - can cost several times more to fix once secondary damage has set in.
Understanding Real Costs Before You Start
Home improvement estimates have a way of feeling abstract until you're standing in a hardware store. The key discipline is separating material costs from labor costs before you budget - and understanding which one you can actually control.
Getting Accurate Estimates
- For any professional work, get at least three written quotes. Describe the same scope to each contractor so you're comparing apples to apples.
- Ask quotes to break out labor and materials separately. This lets you see where the money actually goes and spot outliers.
- Research average material costs independently before meeting contractors, so you arrive informed.
Hidden Cost Categories
Many projects carry costs that aren't obvious at the outset: permit fees, disposal of old materials, surface preparation, and temporary accommodation if work affects livable space. Factor these in from the start rather than treating them as surprises.
For a broader view of managing project spending alongside everyday finances, the end-to-end budgeting resource covers how to map irregular expenses like home repairs into a monthly spending plan.
Always request an itemised quote, not a lump-sum figure. Seeing materials and labor broken out separately lets you have an informed conversation with any contractor and spot inflated line items.
Lump-sum quotes obscure where money is going and make it harder to compare bids accurately or negotiate on specific components.
Before starting any DIY project, do a dry run - assemble the tools, read the instructions fully, and identify the one step where something could go wrong. That's where most mistakes happen.
Experienced DIYers consistently report that preparation time - not execution - is what separates successful projects from costly mistakes.
DIY vs. Hiring a Professional: Drawing the Line
The appeal of DIY is real - you save on labor, build skills, and feel genuine satisfaction completing a project yourself. But the line between safe DIY and work that needs a licensed professional is sharper than most guides acknowledge.
Generally Safe for DIY (with proper research)
- Painting interior walls and ceilings
- Installing or replacing simple hardware (handles, hinges, towel bars)
- Basic caulking around tubs and sinks
- Patching small drywall holes
- Replacing light switch covers or outlet covers (not the wiring behind them)
Typically Requires a Licensed Professional
- Electrical work beyond surface fixtures - rewiring, panel upgrades, and new circuit installation are regulated and dangerous if done incorrectly.
- Gas line work of any kind - always a licensed plumber or gas fitter.
- Structural modifications - removing or altering walls, especially load-bearing ones. See our guide on load-bearing walls before considering any wall removal.
- Roof repairs beyond minor patching - working at height with improperly secured equipment is a serious safety risk.
Before attempting any DIY project, familiarise yourself with the tools involved. Our hand tools beginner reference is a useful starting point. And watch out for common misconceptions - DIY myths that actually cost you more covers widely repeated advice that backfires in practice.
Never DIY Electrical, Gas, or Structural Work
Work involving your home's electrical panel, gas supply lines, or load-bearing structure is regulated for good reason - errors can cause fires, explosions, or structural collapse. In most jurisdictions, this work requires licensed contractors and inspected permits. Attempting it without qualifications may also void your homeowner's insurance and create legal liability when you sell.
Avoiding Budget Blowouts
Cost overruns on home projects are common enough to plan for, not just guard against. The standard recommendation among contractors and renovation professionals is to set aside a 15-20% contingency on top of your quoted project cost. This isn't pessimism - it reflects the reality that walls often hide surprises, and material prices fluctuate.
Practical Guardrails
- Scope creep is the biggest risk. Once one area is open, it's tempting to fix adjacent issues or upgrade further. Decide in advance what's in-scope and document it.
- Don't pay full amounts upfront. A reasonable deposit is standard, but withhold final payment until the work is complete and inspected.
- Permits aren't optional. Unpermitted work can affect your ability to sell the home and may require costly removal and redo later. Check with your local building department for what's required in your area.
- Deferred maintenance compounds costs. This applies at home just as it does with vehicles - the same principle explored in why skipping maintenance rarely saves money.
Building a dedicated home repair fund alongside your emergency savings helps absorb these costs without derailing your finances. The Saving & Emergency Funds hub covers how to structure this kind of earmarked savings.
Verbal Quotes Are Not Contracts
Always get project scope, timeline, and cost in writing before any work begins. Verbal agreements are difficult to enforce and leave you exposed if the cost rises or the work doesn't meet expectations. A written contract should specify exactly what is included, what is excluded, and what triggers additional charges.
Building a Realistic Project Timeline
Tackling home improvement doesn't mean doing everything at once. A phased approach - one project completed before the next begins - keeps spending manageable, lets you apply lessons learned, and prevents your home from feeling like a perpetual construction zone.
A Simple Phasing Framework
- Immediate phase (within 30 days): Address any safety or urgent functional issues. These can't wait.
- Short-term phase (3-6 months): Plan and execute one or two maintenance or efficiency improvements while rebuilding your project fund.
- Medium-term phase (6-18 months): Tackle larger cosmetic or upgrade projects once essentials are stable.
Document each completed project - photos, receipts, contractor contacts, and permit numbers. This record is valuable when selling the home and helps you track real versus estimated costs for future planning.
Once your home is functioning well, exploring how to make your space feel personal and well-organized is a natural next step. Our guide on making a first flat feel like home and decorating on a tight budget offer approachable strategies for that stage.
This article provides general home improvement information for educational purposes only. Always verify local building codes, permit requirements, and consult licensed professionals before undertaking regulated or hazardous work.