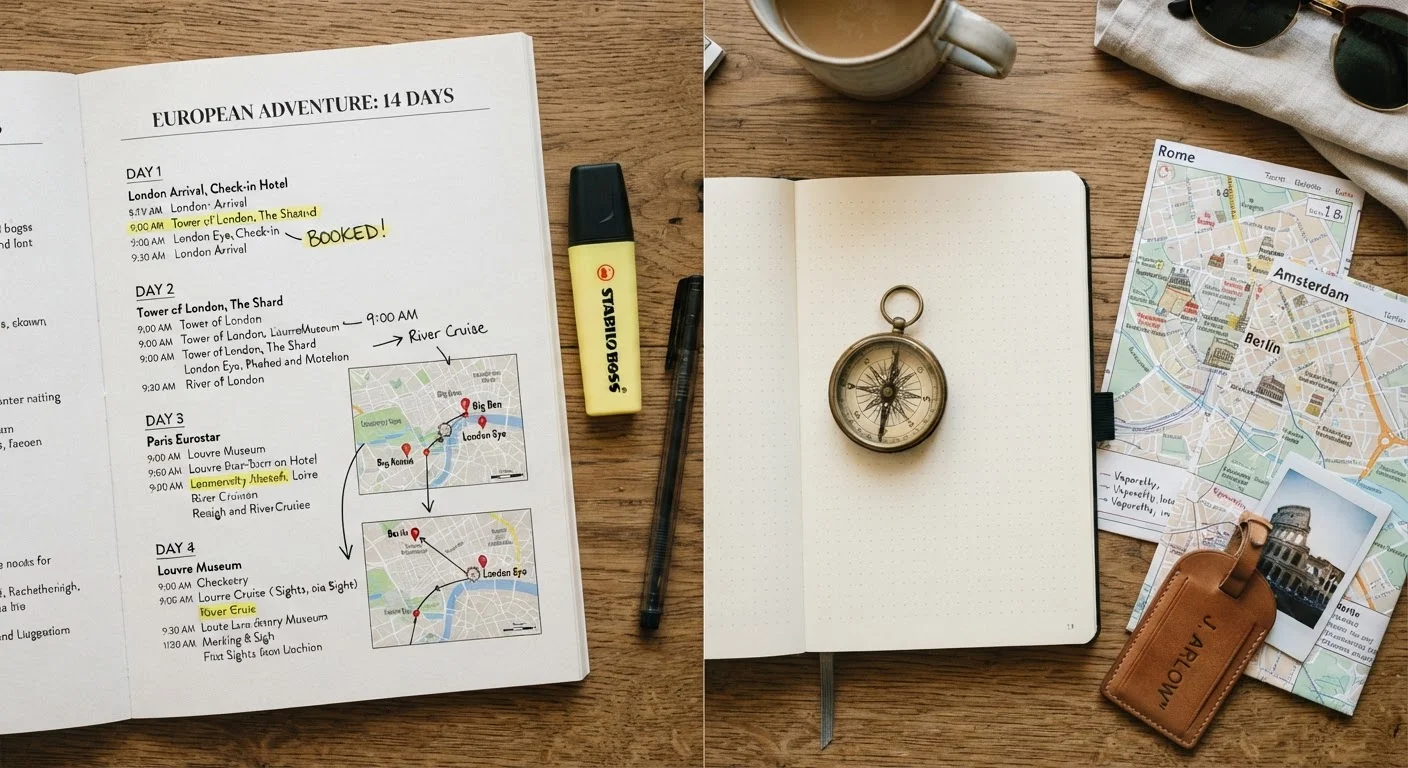
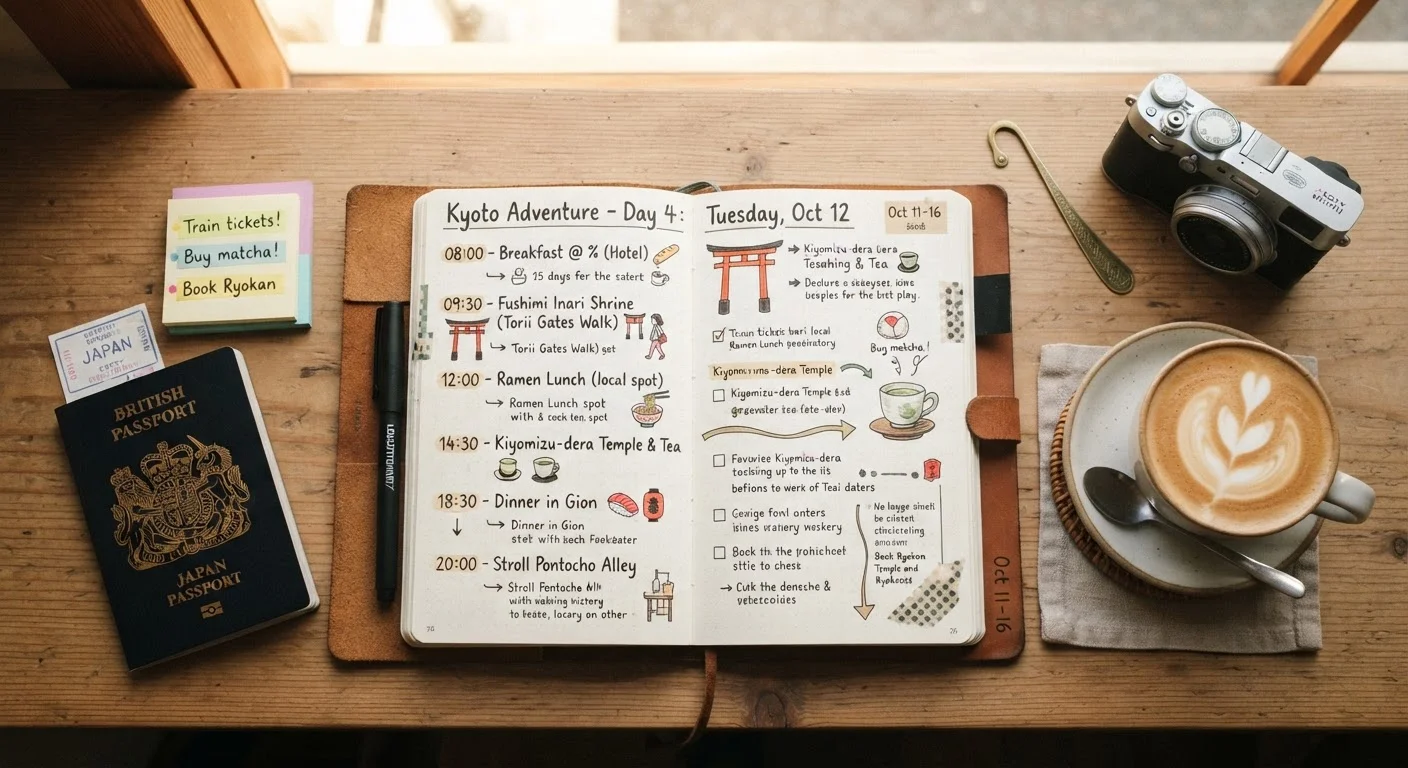
Why Most Itineraries Break Down
The problem with most travel itineraries isn't lack of research - it's structural. Travelers spend hours identifying what to do and almost no time thinking about how to sequence, pace, and protect their plan from real-world friction. The result is a schedule that looks reasonable on paper and falls apart by noon on day two.
The two most reliable failure modes are overpacking the day and ignoring geography. Overpacking happens when every item on your research list gets added to the schedule without accounting for transit time, energy depletion, or the simple fact that travel is slower than it looks on a map. Ignoring geography means bouncing across a city to hit scattered attractions instead of working zone by zone.
If you've ever returned from a trip feeling more exhausted than when you left, an overloaded itinerary is usually part of the explanation. The goal of a working itinerary isn't to maximize the number of things you see - it's to create the conditions for a trip that actually feels good to be on. For a deeper look at the trade-offs between structured and open-ended planning, see our piece on rigid itineraries vs. open-ended travel.
What you will need
How to Build Your Itinerary Step by Step
Follow these steps in order. Each one builds on the last - skipping ahead to "assign days" without first clustering by location is exactly how itineraries get overloaded. Use the tools below to support the process.
Digital map (Google Maps or similar)
Used to cluster activities by location and estimate realistic transit times between stops.
Spreadsheet or itinerary template
Organizes your daily schedule into a scannable format you can reference on the go.
Destination guide or travel hub
Provides vetted activity ideas and local context to inform your activity list.
Note-taking app (offline-capable)
Stores confirmations, addresses, and backup plans accessible without reliable Wi-Fi.
List every activity you're considering - without filtering
Start with a brain dump. Write down every place, meal, experience, or neighborhood you've heard about or want to explore. Don't evaluate feasibility yet. This raw list is your raw material, not your final plan.
Include time estimates for each item. A museum visit is typically 1.5-3 hours; a street food crawl might be 2 hours. Vague entries like "explore the old town" need rough time brackets too - otherwise they'll expand to fill whatever space you leave them.
Cluster activities by geographic area
Open a map and tag each activity with its location. Then group items that are physically close together - these become your day zones. Crossing the city twice in one day to hit scattered sites is a reliable way to waste 2-3 hours on transit and arrive at each place tired.
A single neighborhood or district can often fill a full day, especially once you factor in meals, walking pace, and spontaneous detours. Geographic clustering is the single highest-leverage move in itinerary design.
Assign one anchor activity per day
Every day should have one non-negotiable anchor: the thing you'd be genuinely disappointed to miss. Build the rest of the day around it - before or after, depending on opening hours, crowd patterns, and your own energy levels.
This single-anchor rule prevents the common mistake of listing six "must-dos" per day and then burning out by day three. Secondary activities fill in around the anchor; if they don't happen, you haven't lost the day.
Build in explicit buffer time
The most common itinerary failure is no slack. Budget a minimum of 90 minutes of unallocated time per day. This absorbs late openings, longer meals, transit delays, or simply the moment when you want to sit in a square and do nothing for an hour.
Buffer time is not wasted time - it's what separates a trip that feels expansive from one that feels like a series of deadlines. If you consistently have more buffer than you need, that's a sign your pacing is healthy, not that you under-planned.
Sequence your days intentionally
How you order your days matters. Arrive-day logistics (transit from the airport, checking in, orienting yourself) consume more time than most people plan for. Keep day one light - a single neighborhood walk and a good meal is a legitimate first day.
Place your most demanding or time-sensitive activities in the middle of your trip, when you're acclimatized but not yet fatigued. Reserve your final day for low-stakes activities you can abandon easily if packing, transit, or last-minute needs eat into the time. Also factor in jet lag if you're crossing time zones - see our guide on time zone changes and travel fatigue for scheduling strategies that work with your body clock.
Review, cut, and lock the plan
Once you have a draft, do a reality check. Count total planned hours per day including transit. If any day exceeds 8-9 hours of activity, it will likely feel punishing. Cut secondary items until each day has breathing room.
Then identify anything requiring advance booking - timed-entry attractions, popular restaurants, guided tours - and confirm those reservations before you leave. Everything else stays flexible. The itinerary is a framework, not a contract.
Leave the last day deliberately light
A packed final day is where itineraries collapse most visibly. Checkout logistics, last-minute shopping, and travel to the airport or station all take longer than expected. Plan almost nothing on your last day and treat any sightseeing you fit in as a bonus.
Overscheduling is the most common planning mistake
Most first-time itinerary builders underestimate how long ordinary tasks take - eating, navigating, waiting in lines, recovering between activities. A day with five ambitious items will routinely end in frustration. When in doubt, plan less and let the trip expand naturally into the space you leave.
Verify entry requirements and advisories before you finalize
Visa requirements, entry conditions, and local safety advisories can change. Before locking in any itinerary, check your government's official travel advisory portal and the destination country's embassy or consulate website. Do not rely solely on travel blogs or booking platforms for this information.
Once your itinerary is built, the complementary challenge is packing smart enough to move through it easily. Our packing strategy guide offers a decision framework for cutting what you don't need. And if you're coordinating with others, group trip logistics covers how to align schedules without the arguments.