How Your Braking System Works
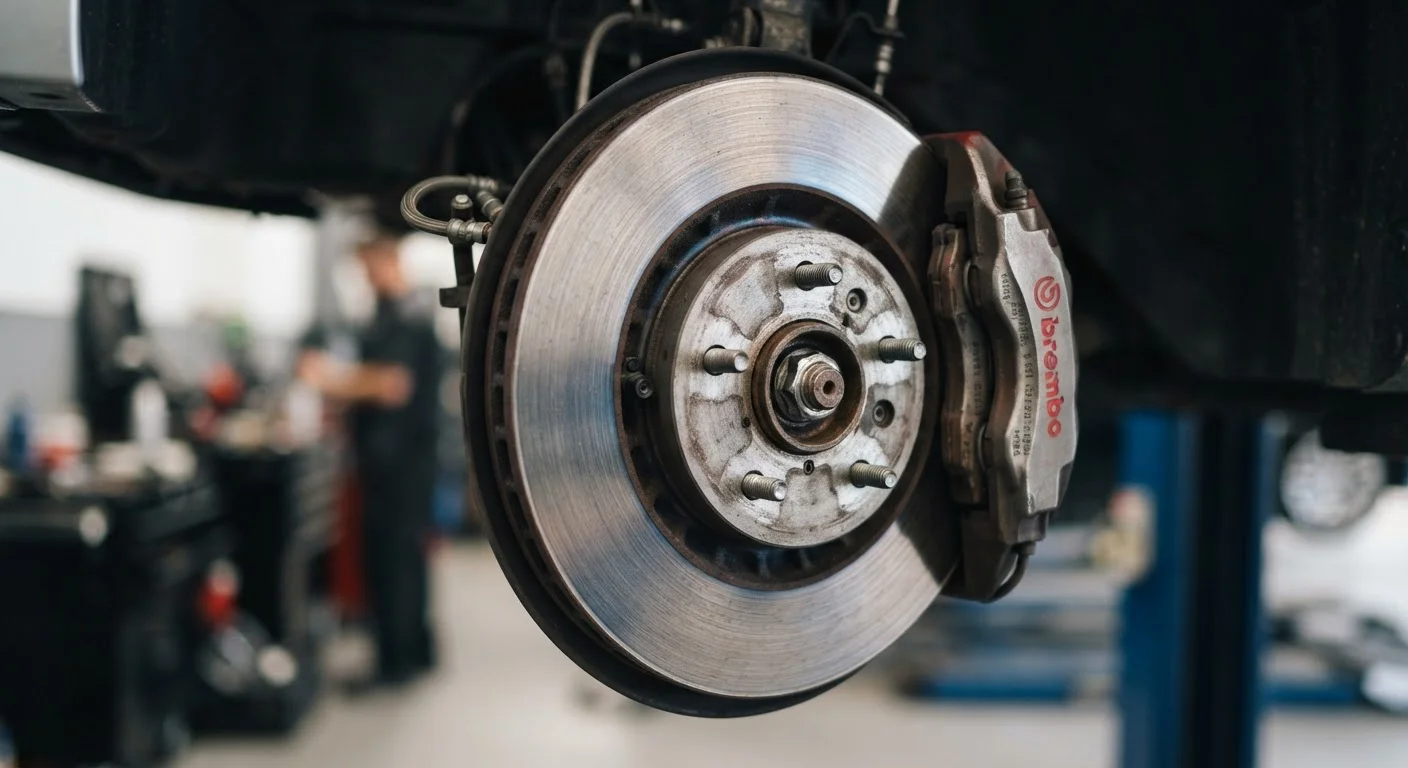
Every time you press the brake pedal, a chain of hydraulic events converts kinetic energy into heat. The pedal pushes brake fluid through lines to calipers (on disc brakes), which squeeze brake pads against rotating metal discs called rotors. Friction slows the wheel. On older or rear axle setups, drum brakes work similarly but use curved shoes pressing outward against a drum.
Three components do most of the work: the pads (the friction material), the rotors (the spinning disc), and the brake fluid (the hydraulic medium). Each degrades independently, and each has its own failure mode. Understanding all three is the foundation of smart brake maintenance. For a broader overview of vehicle upkeep habits, see our guide for new drivers.
Brake Pads: Wear, Limits, and Warning Signs
Brake pads consist of friction material bonded to a metal backing plate. As the material wears down, stopping performance degrades - and eventually the metal backing contacts the rotor directly, causing damage that goes well beyond a simple pad swap.
Most pads start at roughly 10-12mm of friction material. Replacement is generally recommended at or before 3mm; below 2mm, you're in unsafe territory. Many pads include a small metal tab called a wear indicator that produces a high-pitched squeal when the pad reaches minimum thickness. That sound is a deliberate alert - not a sign to wait another month.
Grinding Means Stop Driving Soon
A metallic grinding sound when braking is not a 'schedule it when convenient' signal - it means the friction material is gone and metal is contacting metal. Continued driving in this state damages rotors rapidly, turning a pad-only replacement into a full rotor replacement job. Have the vehicle inspected as soon as safely possible.
Visual inspection is straightforward. Looking through the wheel spokes, you can see the pad compressed against the rotor. If the friction material appears thinner than a pencil eraser, schedule service. If you hear grinding or metal-on-metal scraping, that pad is gone and rotor damage is likely already occurring.
Pad lifespan varies widely: organic pads (quieter, less dust) typically last 25,000-30,000 miles; semi-metallic pads, 40,000-60,000; ceramic pads, up to 70,000. City driving with frequent stops consumes pads far faster than highway miles.
When replacing brake pads, always inspect the rotor surface at the same time. Installing new pads on a grooved or heavily worn rotor reduces performance and accelerates the new pad's wear rate.
Pads bed into the rotor surface during initial use; an uneven surface creates poor contact geometry from the start, wasting your investment in new hardware.
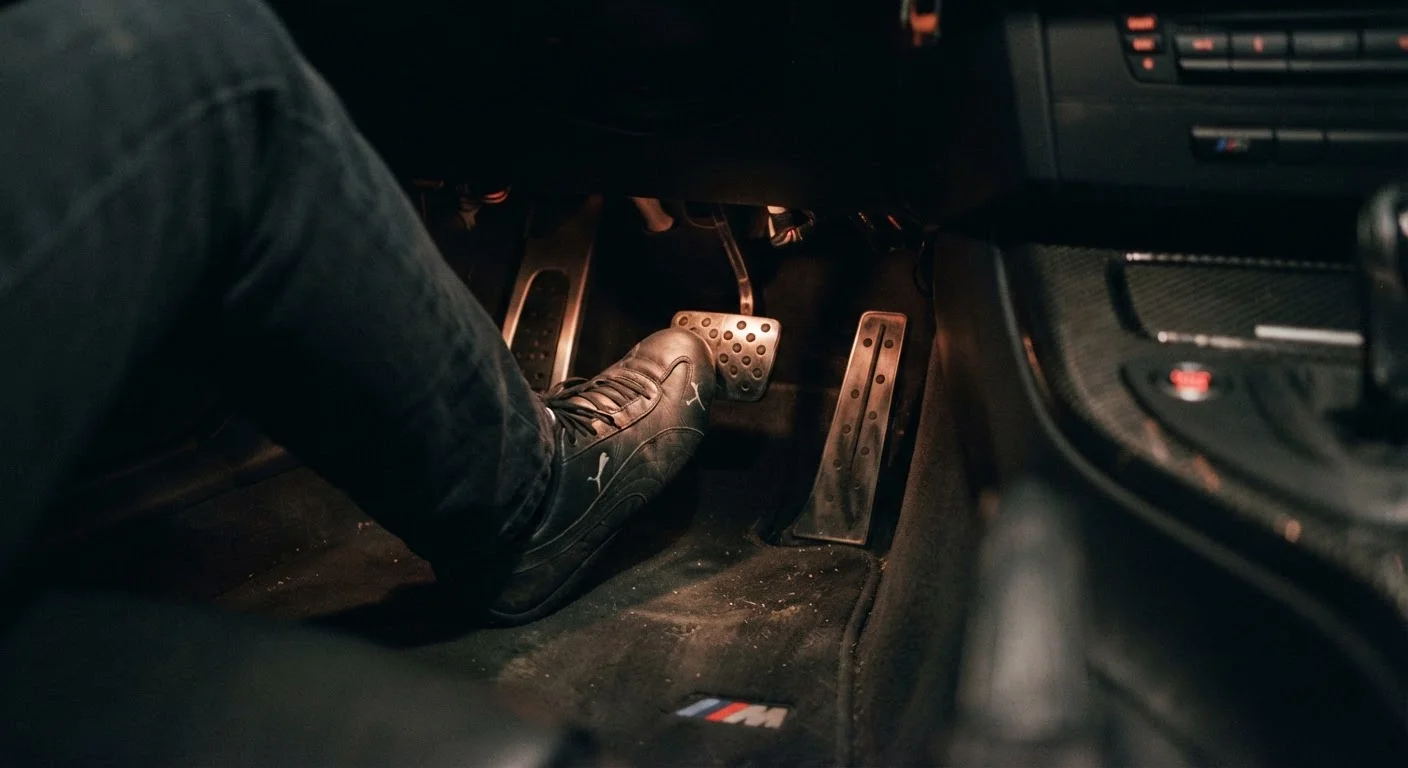
After any brake work involving the hydraulic system, pump the pedal several times before driving. This re-seats the pads against the rotor and restores normal pedal feel before you need it in traffic.
Opening the caliper during pad replacement allows the piston to retract fully; the pedal will feel soft or go to the floor on the first press if you skip this step.
Rotors: What Degrades Them and When to Act
Rotors wear through two mechanisms: gradual thinning from friction and thermal stress from repeated heating and cooling. Thin rotors dissipate heat less effectively, which can lead to brake fade - a temporary loss of stopping power after sustained hard braking.
A rotor also develops surface variation over time. Runout (a slight warp) and thickness variation cause the steering wheel to pulsate when braking - a sign that's easy to feel but easy to ignore. Rotor minimum thickness (the safe lower limit) is stamped directly onto the rotor edge. You can measure current thickness with a micrometer; if it's at or below that number, the rotor must be replaced.
Surface rust is common after rain and usually clears after a few brake applications. Deep grooves, scoring, or hard spots (dark discoloration patches) are different - they indicate the rotor surface has been compromised. Rotors can sometimes be machined (resurfaced) rather than replaced, but only if enough material remains above the minimum thickness. A qualified mechanic should make that call.
Brake Fluid: The Overlooked Variable
Brake fluid is hygroscopic, meaning it absorbs moisture from the air over time. As moisture content rises, the fluid's boiling point drops. Under hard braking, overheated fluid can vaporize inside the brake lines - a phenomenon called vapor lock - causing a sudden, dramatic loss of pedal pressure. This is rare in everyday driving but a genuine risk during mountain descents or track use.
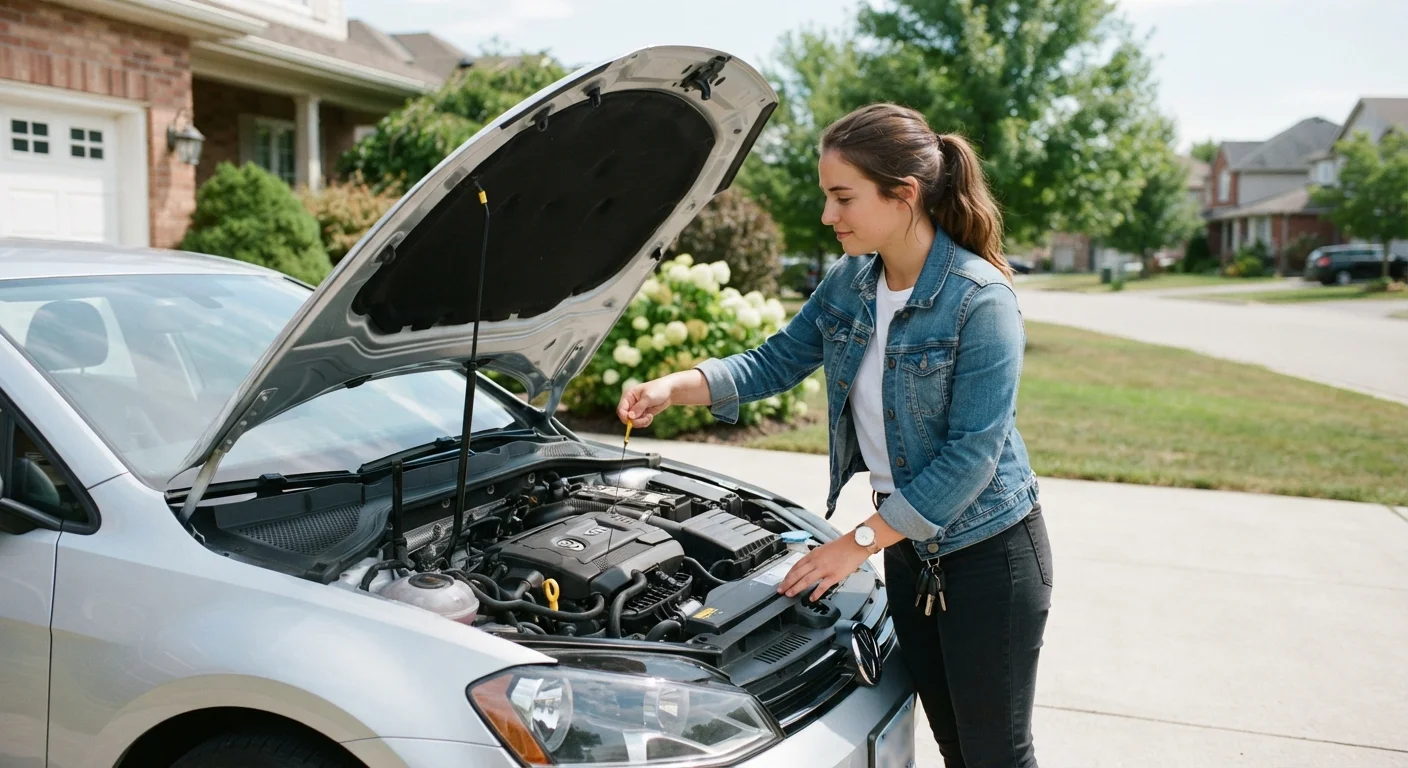
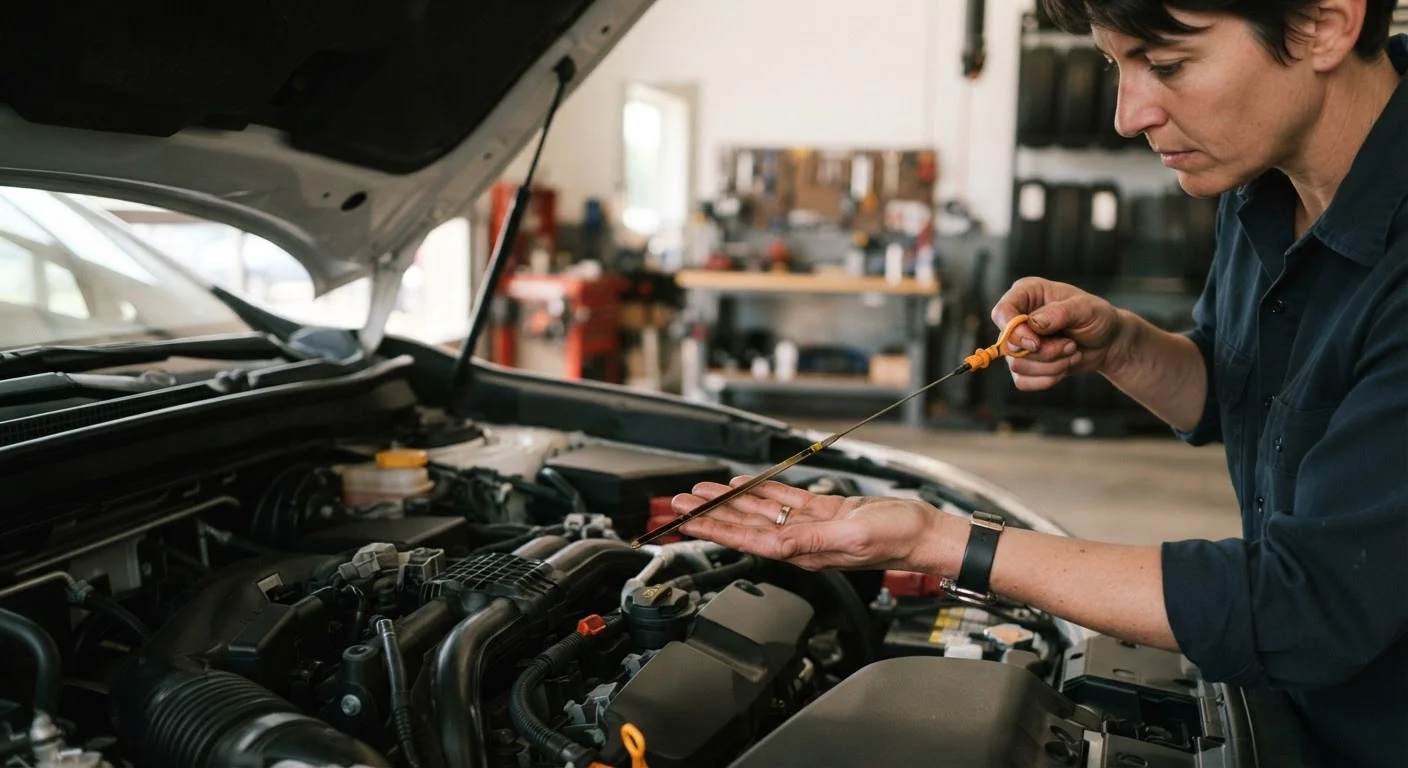
Most manufacturers recommend flushing brake fluid every 2 years or 30,000 miles, regardless of color. Fresh fluid is typically clear to light yellow; dark brown or murky fluid suggests significant contamination. A mechanic can test moisture content with an inexpensive tester. For a full walkthrough on checking and topping up brake fluid yourself, see our fluid checks guide.
3mm
Minimum safe brake pad thickness
Industry consensus among automotive engineers and brake manufacturers places the replacement threshold at or before 3mm of remaining friction material.
2 years
Recommended brake fluid flush interval
Many vehicle manufacturers and brake system specialists recommend replacing brake fluid every two years due to hygroscopic moisture absorption.
Up to 70,000 miles
Maximum ceramic pad lifespan
Ceramic brake pads can last significantly longer than organic or semi-metallic alternatives, though city driving patterns can cut lifespan substantially.
Never mix different DOT specifications (e.g., DOT 3 and DOT 5) unless your vehicle manual explicitly allows it - they have different chemical bases and can be incompatible. Always verify the correct spec in your owner's manual.
Driving Habits That Accelerate Brake Wear
Hardware condition matters, but how you drive matters more. Several common habits quietly destroy brakes faster than normal mileage would suggest.
- Riding the brakes downhill: Sustained light braking generates continuous heat with no cooling interval. Engine braking (downshifting or releasing the accelerator) shares the load and preserves pads and rotors.
- Late, hard stops: Repeatedly braking at the last moment generates intense heat spikes. Increasing following distance allows earlier, lighter braking.
- Carrying excess weight: A heavier vehicle requires more braking force to stop. Overloading the trunk on regular commutes adds measurable wear.
- Left-foot braking (in automatics): Many drivers unconsciously rest a foot on the brake pedal, creating drag and heat even when not actively stopping.
Our article on habits that accelerate wear covers these patterns across the full vehicle, not just brakes.
Use Engine Braking on Long Descents
On extended downhill grades, select a lower gear to let the engine share braking duty with your pads. This keeps brake temperatures in a safe range and significantly reduces wear. Consult your owner's manual for the correct gear range recommendations for your vehicle.
When to DIY and When to Call a Mechanic
Some brake tasks are within reach of a competent home mechanic with basic tools: visual pad inspection, checking fluid color and level, and listening for audible wear indicators. These checks take minutes and should be part of every oil-change interval review.
However, actual brake work carries real safety stakes. Pad replacement is manageable for experienced DIYers who understand proper torque specs and bleed procedures - but any mistake directly affects stopping ability. Rotor replacement and resurfacing, caliper rebuilds, and brake line repairs should be handled by a qualified mechanic.
Never Ignore a Soft or Spongy Brake Pedal
A pedal that sinks toward the floor or feels mushy under pressure indicates air or moisture in the brake lines - a hydraulic fault, not normal wear. This condition can result in severely extended stopping distances or complete brake failure. Do not continue driving; have the vehicle towed to a qualified mechanic for inspection.
If your ABS warning light illuminates alongside a soft or spongy pedal, treat it as urgent. Those symptoms together suggest a hydraulic fault rather than normal wear. Our dashboard warning lights guide explains what that and other brake-related symbols indicate.
Keeping a service log - noting when pads were last replaced, fluid flushed, and rotors checked - removes the guesswork. See our maintenance history guide for a practical system. Brakes are not a component to defer; the cost of a pad replacement is a fraction of rotor replacement, and a fraction again of what a brake failure can cost in damage or injury.