Why Fluid Checks Matter Between Services
Modern vehicles are typically serviced every 5,000 to 10,000 miles or once a year - a long window during which fluid levels and conditions can change meaningfully. Engine oil burns off in high-mileage engines, coolant can develop small leaks, and brake fluid slowly absorbs atmospheric moisture regardless of how little you drive. Catching a problem early - a reservoir at MIN rather than MAX, an unusual color, a burning smell - gives you the chance to address it before it becomes an expensive repair or, in the case of brake fluid, a safety concern.
The checks below cover the five fluids that matter most for routine monitoring. Together they take around 10-15 minutes and require no specialist tools. For context on how these checks fit into broader maintenance, see which DIY maintenance tasks are safe to do yourself.
What you will need
What to Do If Something Looks Wrong
Fluid checks can surface problems you didn't know existed. A few signals that go beyond a simple top-up:
- Milky or frothy engine oil can indicate coolant mixing with oil - a potential head gasket issue requiring immediate professional diagnosis.
- Brake fluid that is very dark or has visible contamination should be flushed by a mechanic, not simply topped up.
- Coolant that is brown, rusty, or has floating debris suggests the cooling system needs professional flushing.
- Any fluid that is consistently low despite regular top-ups suggests a leak somewhere in the system.
If your dashboard warning lights illuminate alongside a low fluid condition, treat it as urgent. The warning lights decoded guide explains which indicators demand immediate action. For brake-specific concerns, the brake maintenance overview gives a fuller picture of what can go wrong and when to call in a professional.
Recurring Low Levels Need Investigation
Topping up a fluid that is chronically low is not a fix - it is a temporary measure. If any fluid drops noticeably between checks, it indicates a leak or internal consumption issue that a qualified mechanic should diagnose. Driving with low brake, coolant, or oil levels can cause serious mechanical damage or create a safety hazard.
Step-by-Step: Checking Each Fluid
Work through the following steps in order. All checks should be performed with the engine off unless your manual states otherwise for a specific fluid. Gather your tools before you begin.
Owner's Manual
Identifies the correct fluid types, reservoir locations, and acceptable level ranges for your specific vehicle.
Clean Lint-Free Rags
Used to wipe the dipstick clean before taking an accurate oil reading.
Flashlight or Work Light
Helps you see fluid levels clearly in dimly lit engine bays.
Funnel
Allows precise topping up of fluids without spilling into the engine bay.
Prepare Your Vehicle
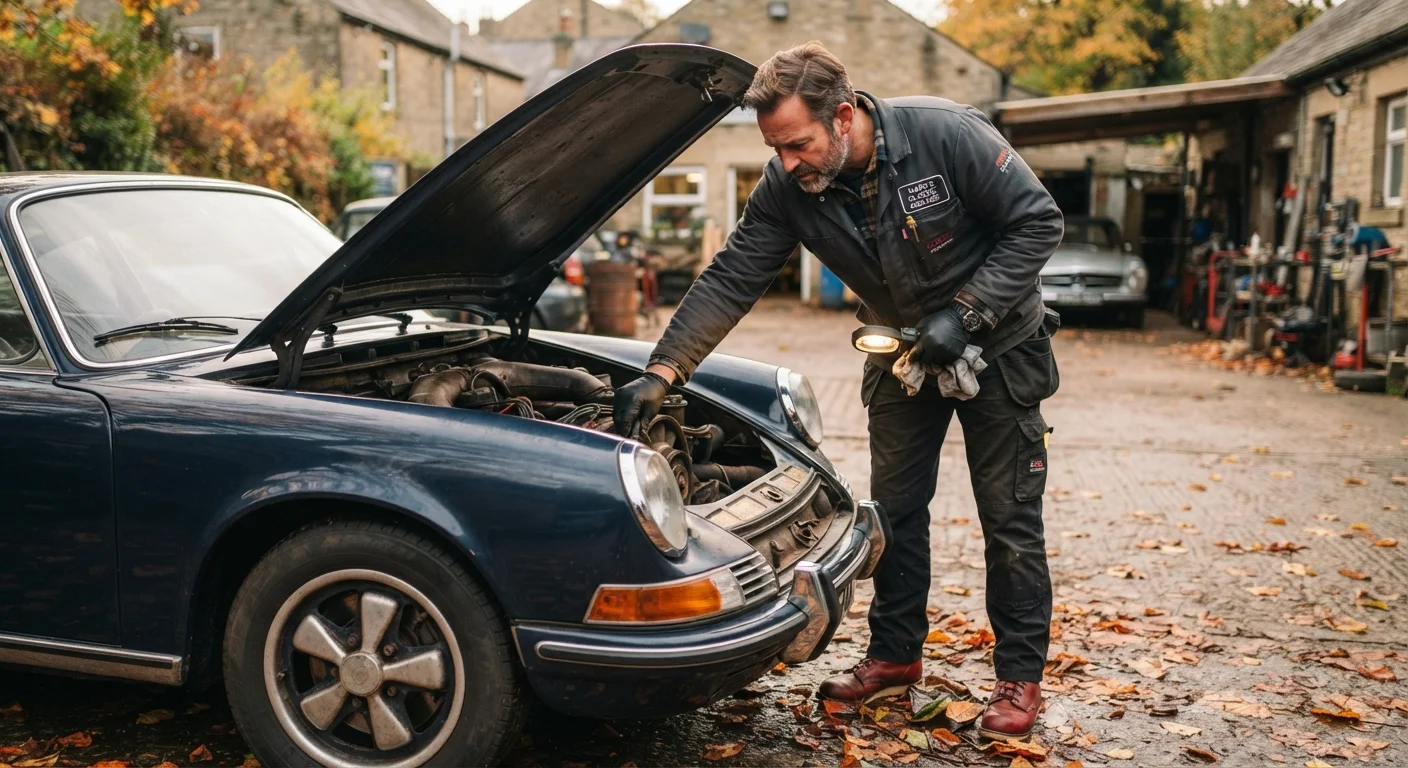
Park on a flat, level surface and turn off the engine. For oil and coolant checks, wait at least 10-15 minutes after driving to allow fluids to settle and temperatures to drop. Open the hood and secure it with the prop rod. Lay out your rags and have your owner's manual accessible.
Check Engine Oil
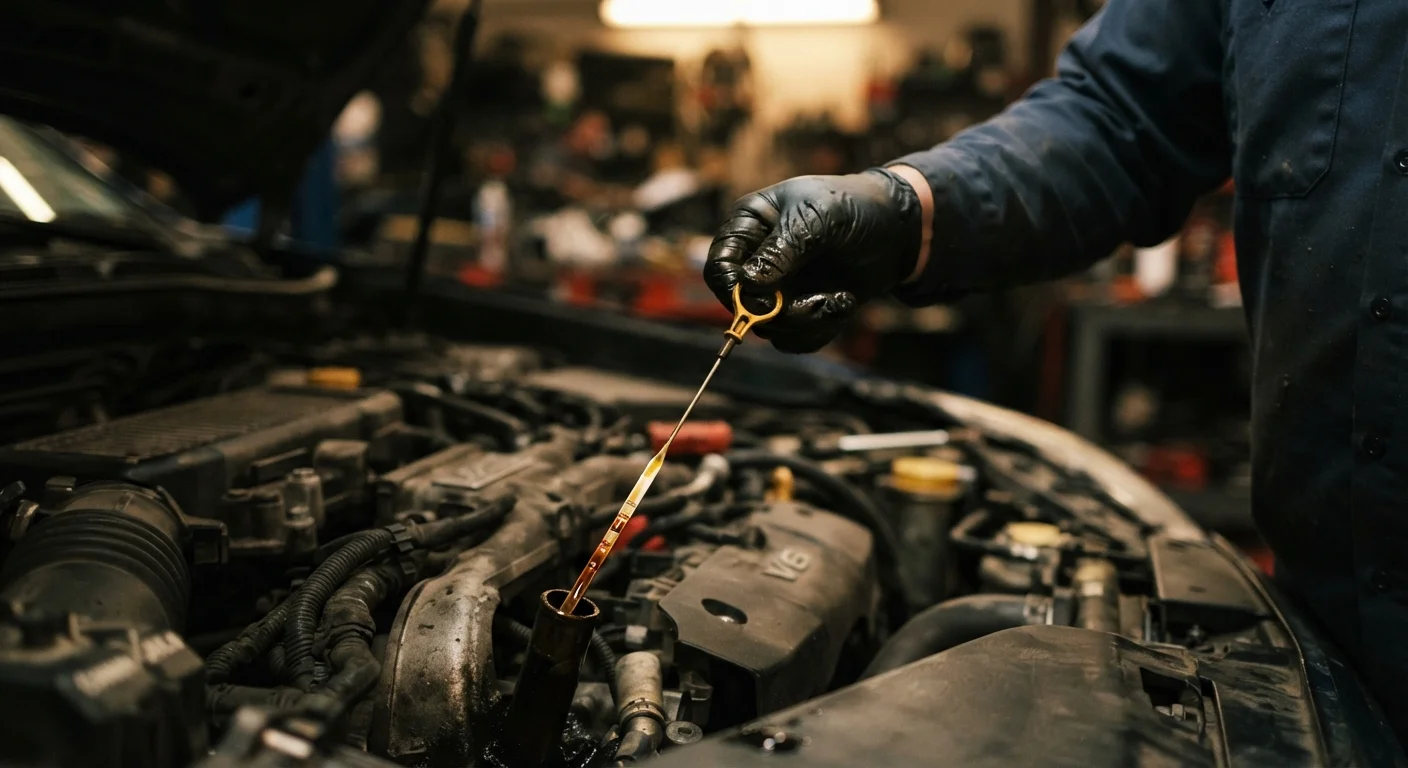
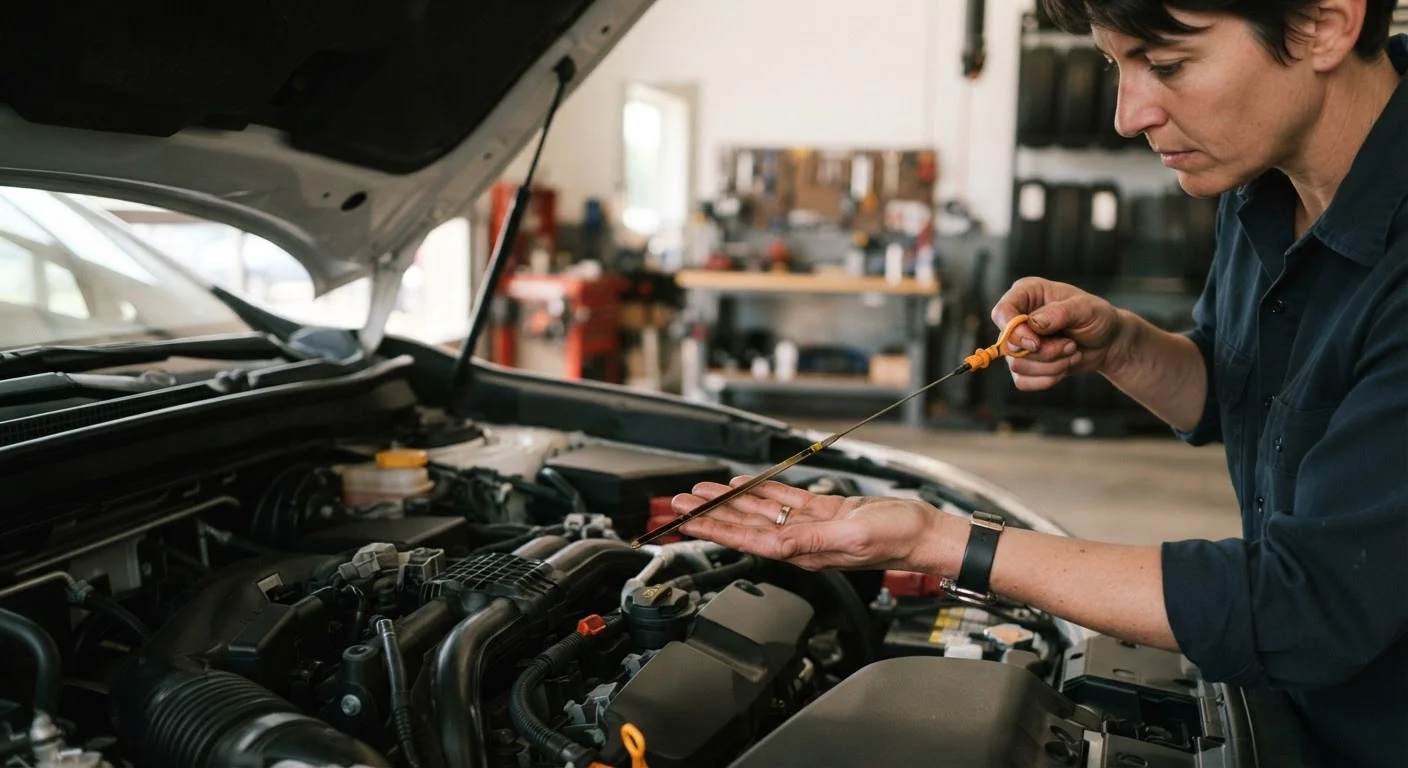
Locate the dipstick - it typically has a brightly colored handle (yellow or orange) near the front of the engine. Pull it out fully, wipe it clean with a rag, reinsert it all the way, then withdraw it again. Read the level against the MIN and MAX markers. The oil film should fall between those two points. Also note the color: healthy oil ranges from amber to dark brown. Black, gritty, or milky oil warrants a mechanic's attention. See what your dipstick really tells you for a deeper look at oil condition signals.
Check Engine Coolant
The coolant reservoir is a translucent plastic tank, usually located to one side of the engine bay. You can read the level through the tank wall against the MIN/MAX markings - there is no need to open it when the engine is warm. The coolant should be a bright color (green, orange, or pink, depending on type) and free of floating particles. If the level is below MIN when cold, top up with the correct coolant type diluted to the ratio specified in your manual.
Check Brake Fluid
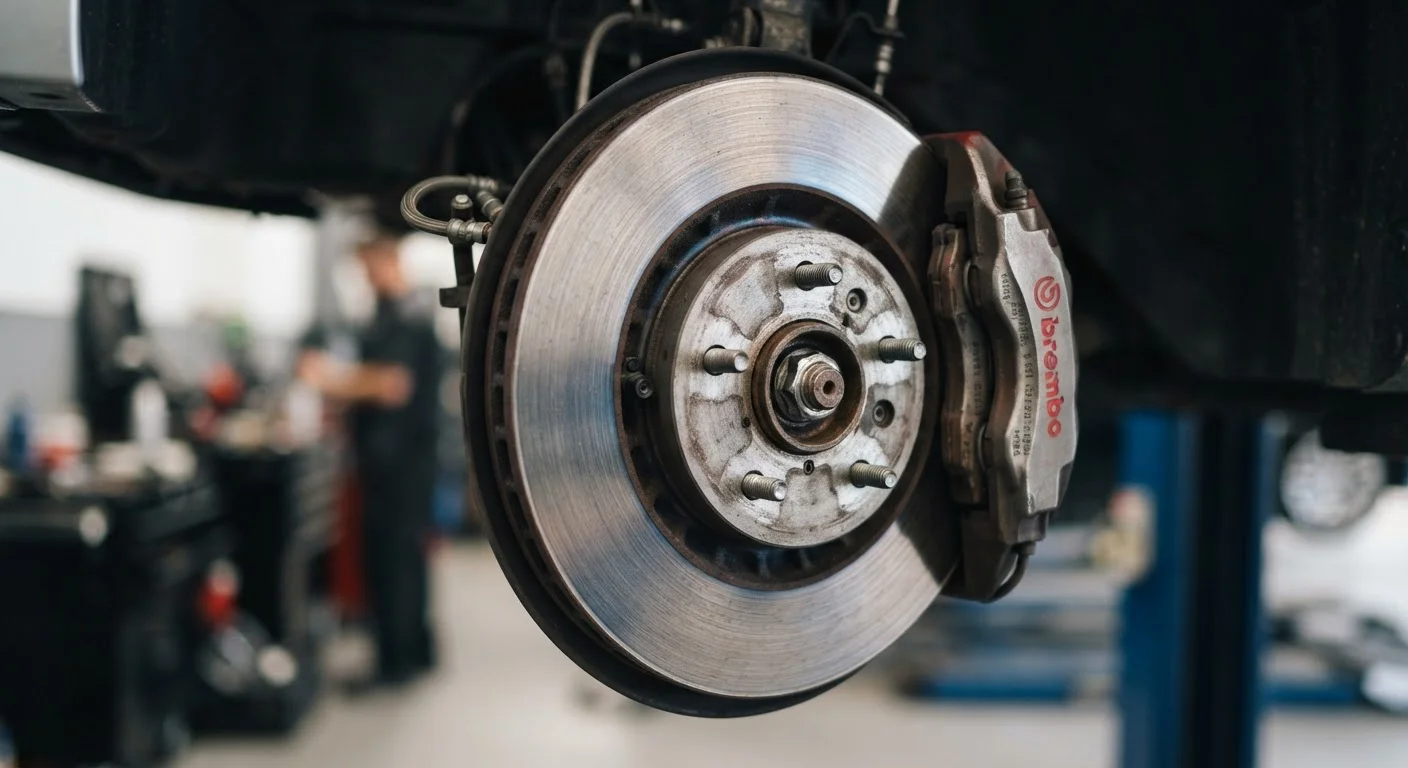
The brake fluid reservoir is a small, semi-transparent plastic container mounted near the firewall, usually on the driver's side. Check the level through the reservoir wall against the MIN and MAX lines. Brake fluid darkens over time as it absorbs moisture - very dark fluid is a sign it may need professional flushing. The brake maintenance guide covers fluid degradation and the warning signs that signal it's time to act. If the level is noticeably low without explanation, have the brake system inspected before simply topping up - low brake fluid can indicate worn pads or a leak.
Check Power Steering Fluid
On vehicles with hydraulic power steering, there is a dedicated reservoir - often labeled with a steering wheel icon - with a MIN/MAX dipstick attached to the cap or external markings on the reservoir body. Check it with the engine cold. Note that many modern vehicles use electric power steering and have no hydraulic fluid to check; your owner's manual will confirm which system your car uses.
Check Windshield Washer Fluid
The washer fluid reservoir is usually clearly labeled with a windshield icon. Unlike the other fluids, level isn't critical to vehicle safety, but running dry can leave you unable to clear road grime at speed - a real visibility hazard. Top up with a dedicated washer fluid formulation. In cold climates, use a mix rated for freezing temperatures; plain water freezes in the reservoir and lines. See seasonal car maintenance for cold-weather preparation tips.
Build a Monthly Check Habit
Fluid checks take under 15 minutes and are most useful when done consistently - once a month is a practical cadence for most drivers. Pairing checks with a regular event (like the first of the month or a fuel fill-up) makes it easier to stay consistent. The new driver maintenance guide has more on building a reliable routine.
Always Use the Fluid Your Car Specifies
Different vehicles require different fluid grades and formulations. Using the wrong engine oil viscosity, brake fluid grade, or coolant type can degrade seals, reduce performance, or void a warranty. Your owner's manual is the definitive reference - not the label on a shelf. If you're unsure, ask a qualified mechanic before adding anything.