Why Tool Knowledge Comes Before Tool Buying
Most beginner frustration in home improvement doesn't come from lacking tools - it comes from reaching for the wrong one or not understanding what a tool is actually designed to do. Knowing a tool's purpose, its limitations, and the correct grip makes the difference between a clean result and a stripped screw or a crooked shelf.
Before adding anything to your collection, build a mental map of the core hand tool categories. This article covers that map: what each tool does, where it fits, and what to watch out for. Once you're comfortable here, pair this knowledge with a broader project plan - the guide to home improvement on a budget is a strong complement for scoping what your projects actually require.
Flathead screwdriver
A screwdriver with a single flat blade, designed for screws with a straight slot across the head.
Phillips screwdriver
A screwdriver with a cross-shaped tip, matching the cross-recess pattern found on most modern screws and hardware.
Plumb
Perfectly vertical - a wall, post, or surface is plumb when it is exactly upright with no lean in any direction.
Level
Perfectly horizontal - a shelf or surface is level when it is flat with no tilt side to side, confirmed by a spirit level tool.
Claw hammer
A hammer with a curved, forked end opposite the striking face, used to pull nails out of wood after driving them in.
Crosscut saw
A hand saw designed to cut across the grain of wood, producing a clean edge perpendicular to the board's length.
Bradawl
A small pointed tool used to pierce a starting hole in wood or similar material before driving a screw, preventing splitting.
Measuring and Marking Tools
Accurate measurement is the foundation of every successful project. The two tools you'll reach for constantly are a tape measure and a pencil or marking tool.
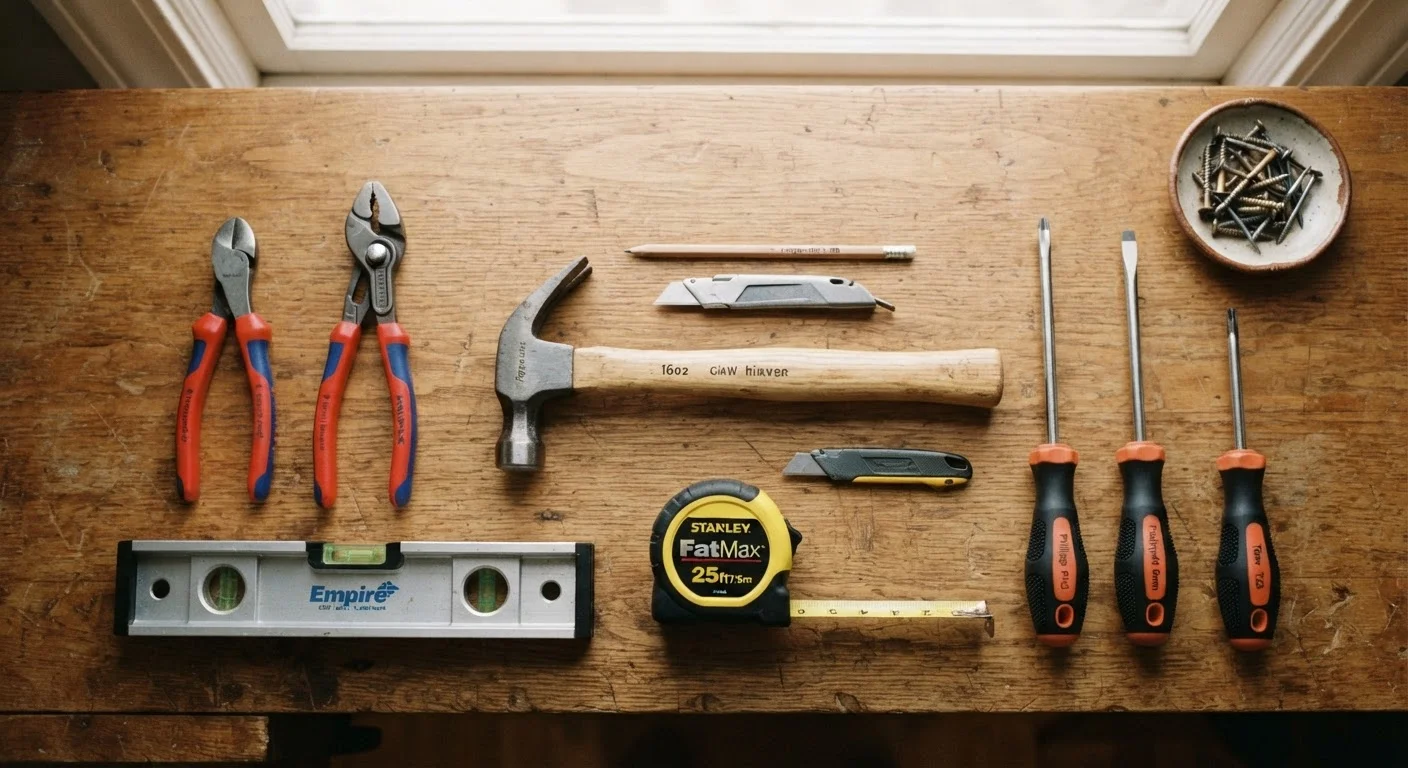
A standard 25-foot tape measure handles virtually all indoor tasks. The metal hook at the end is intentionally loose - it shifts slightly to account for its own thickness whether you're hooking over an edge or pressing against a surface. This is by design, not a defect. Read measurements from the top of the tape, not the bottom, and always double-check before cutting or drilling.
For marking, a carpenter's pencil leaves a wider, more visible line on wood than a standard pencil. A chalk line tool - a string coated in chalk dust - snaps a straight reference line across long surfaces like floors or drywall. A marking gauge scores a consistent parallel line along a board's edge, useful for joinery.
Measure Twice, Cut Once
The oldest rule in DIY exists because material mistakes are expensive and often irreversible. Before marking any cut line, take your measurement, step back, and take it again. If the two readings don't match, find out why before proceeding. This habit alone prevents the most common beginner project errors.
Striking and Fastening Tools
The claw hammer is the most recognized hand tool for good reason: it drives nails and pulls them out with the curved claw end. A 16-oz hammer is the standard weight for general use - heavy enough to drive nails efficiently, light enough to control comfortably.
Screwdrivers come in two primary types most beginners encounter: flathead (single slot) and Phillips (cross-shaped). Matching the driver to the screw head exactly - in both type and size - prevents stripping. A stripped screw can turn a five-minute task into a frustrating extraction job.
A hand screwdriver offers more torque control than a power drill for delicate assembly or small fasteners. For driving screws into tougher materials, a bradawl - a pointed tool - pre-punctures the surface to guide the screw and reduce splitting. Always choose the right fastener for the material: wood screws for timber, drywall anchors for hollow walls.
Gripping and Cutting Tools
Pliers grip, bend, and hold materials that fingers can't manage. Needle-nose pliers reach into tight spaces and handle small components. Slip-joint pliers adjust to different widths and provide strong clamping force. An adjustable wrench (also called a crescent wrench) grips nuts and bolts of varying sizes without needing a matched socket - turn the jaw so it fits snugly before applying force to avoid rounding the fastener.
A utility knife with a retractable blade handles scoring, trimming, and cutting tasks on materials like drywall, cardboard, vinyl, and thin sheet material. Always cut away from your body, keep the blade sharp (dull blades require more pressure and slip more easily), and retract the blade when not in use.
For woodworking, a hand saw cuts lumber without power. A crosscut saw cuts across the wood grain; a rip saw cuts along it. Let the saw do the work - forcing it causes the blade to bind and drift off the cut line.
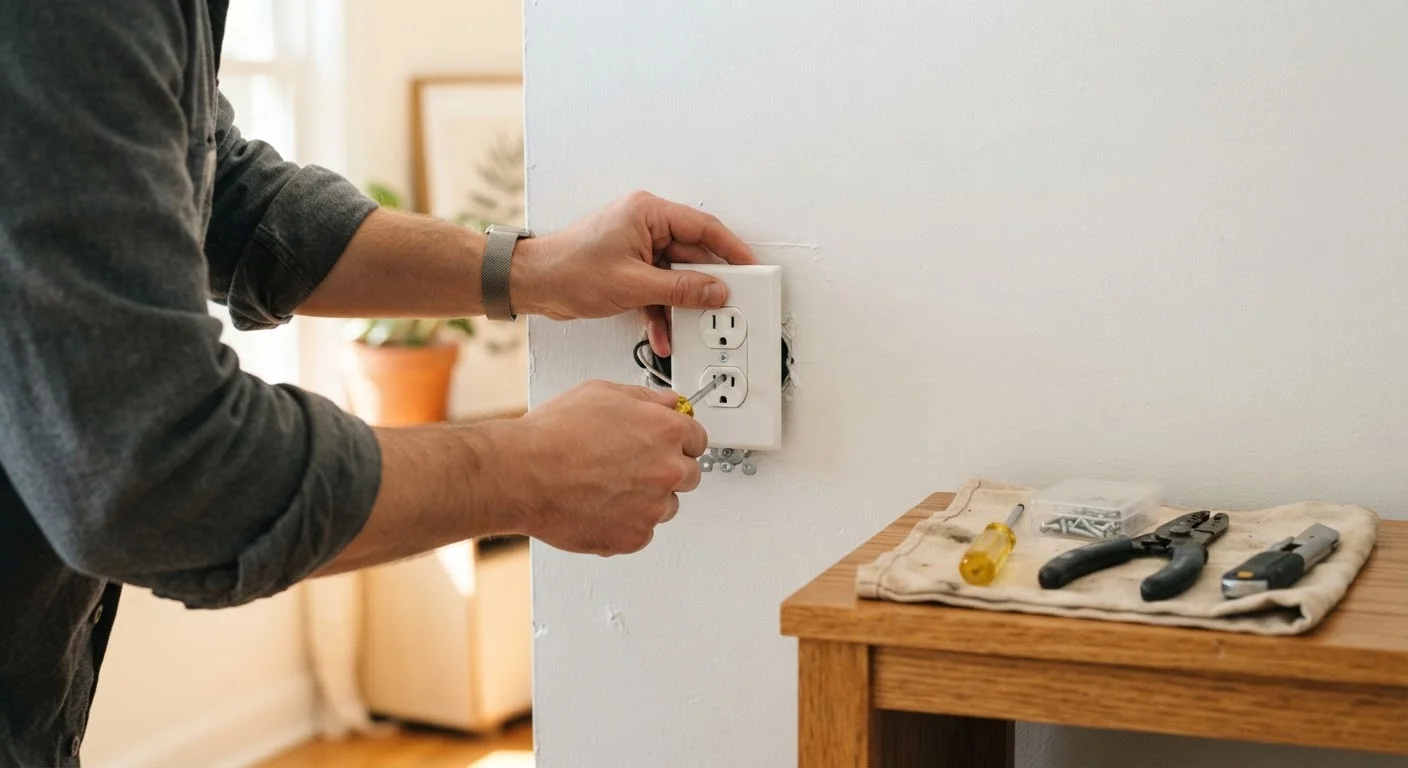
Some home improvement projects also involve knowing where not to use your tools. Electrical work, for example, has firm limits for DIYers - see where the line is on DIY electrical work before you pick up any tool near wiring.
Never Use a Tool Beyond Its Design
Using a screwdriver as a pry bar, pliers as a hammer, or a utility knife to score materials too thick for its blade are all common causes of tool breakage and hand injuries. Each tool is engineered with specific stress tolerances. Working outside those tolerances risks snapping blades, slipping grips, or flying fragments. When a task demands more than your tool can safely provide, use the right tool - or get professional help.
Leveling and Layout Tools
A spirit level (also called a bubble level) confirms whether a surface, shelf, or fixture is perfectly horizontal (level) or perfectly vertical (plumb). The bubble in the liquid-filled vial should sit centered between two marked lines to confirm alignment. A 24-inch level is the most versatile length for home use - long enough to span most shelves and door frames.
A combination square does double duty: it checks 90-degree angles (right angles) and 45-degree angles, and can also be used as a depth gauge or a short ruler. When cutting wood or marking a line perpendicular to an edge, a combination square ensures accuracy that eyeballing simply can't provide.
For laying out larger areas - like a garden bed or a room's furniture arrangement - a chalk line and measuring tape work together to establish reference points. Mark corners with masking tape so you can adjust before committing to permanent marks or cuts.
Building Safe Habits From Day One
The physical habits you build on your first project tend to stick. A few non-negotiable practices make DIY work safer regardless of experience level:
- Secure your workpiece. A clamp or vise holds material steady so both hands can control the tool. Improvising with your knee or foot risks slipping and injury.
- Wear eye protection. Safety glasses should be on whenever you're cutting, striking, or prying - debris moves faster than a blink.
- Use the right tool for the task. A screwdriver used as a chisel, or pliers used as a hammer, is a leading cause of minor injuries and damaged surfaces.
- Know when to stop. If a task moves beyond cosmetic repairs into structural, gas, or electrical territory, that's the point to call a licensed professional. No tool knowledge substitutes for professional qualification in regulated work.
Starting any project with a clear scope prevents scope creep into territory that requires permits or trades. The home improvement planning guide walks through how to define that scope before picking up a single tool.