Why Most DIY Paint Jobs Fall Short
The gap between a DIY paint job and a professional one almost never comes down to the paint. It comes down to preparation, sequencing, and patience. Skipping a step early - leaving a greasy wall uncleaned, painting over a crack without patching, or taping carelessly - guarantees visible flaws that no amount of careful rolling will fix.
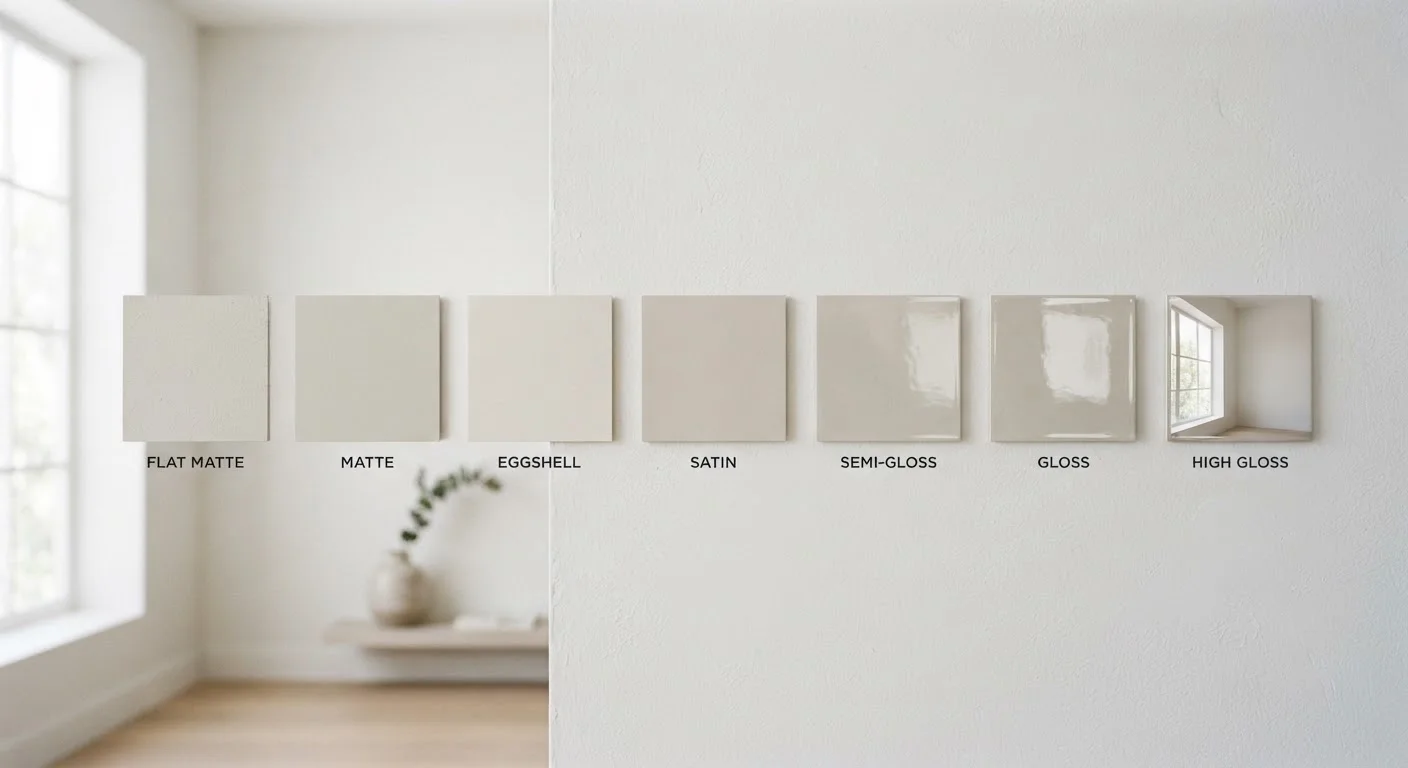
Before you buy a single can, think through the room holistically. If you're still deciding on colors, understanding how color, light, and scale interact will help you make a more confident choice. And once you know your color, the finish matters just as much - each sheen behaves differently depending on the room.
What you will need
What You'll Need
Gather everything before you start. Hunting for supplies mid-project leads to mistakes - wet edges dry, tape lifts, and you lose momentum.
Angled sash brush (2-2.5 inch)
Used for cutting in - painting the edges along trim, corners, and the ceiling line before rolling.
9-inch paint roller with appropriate nap
Covers large wall surfaces quickly and evenly; nap thickness depends on wall texture.
Painter's tape
Protects trim, baseboards, and ceilings from paint bleed; must be applied cleanly for sharp edges.
Drop cloths
Protect floors and furniture from drips and spills throughout the painting process.
Spackling compound and putty knife
Fills nail holes, small cracks, and minor wall imperfections before priming.
Primer
Seals patched areas and creates a uniform base coat, especially critical when covering dark colors or raw drywall.
Sanding sponge (120-grit)
Smooths out dried spackling and any rough wall texture before primer goes on.
Paint tray with liner
Holds paint for roller loading; liners make cleanup significantly faster.
Step-by-Step: From Bare Wall to Clean Finish
Follow these steps in order. Each one builds on the last, and skipping ahead is the most common reason amateur results look amateur.
Clean and repair the walls
Wipe down walls with a damp cloth or a mild cleaning solution to remove dust, grease, and grime - particularly around light switches and near the kitchen. Let walls dry fully. Use spackling compound to fill any nail holes or hairline cracks. Once dry, sand the patches smooth with a 120-grit sanding sponge until flush with the surrounding wall. Dust everything off before moving on.
Apply painter's tape carefully
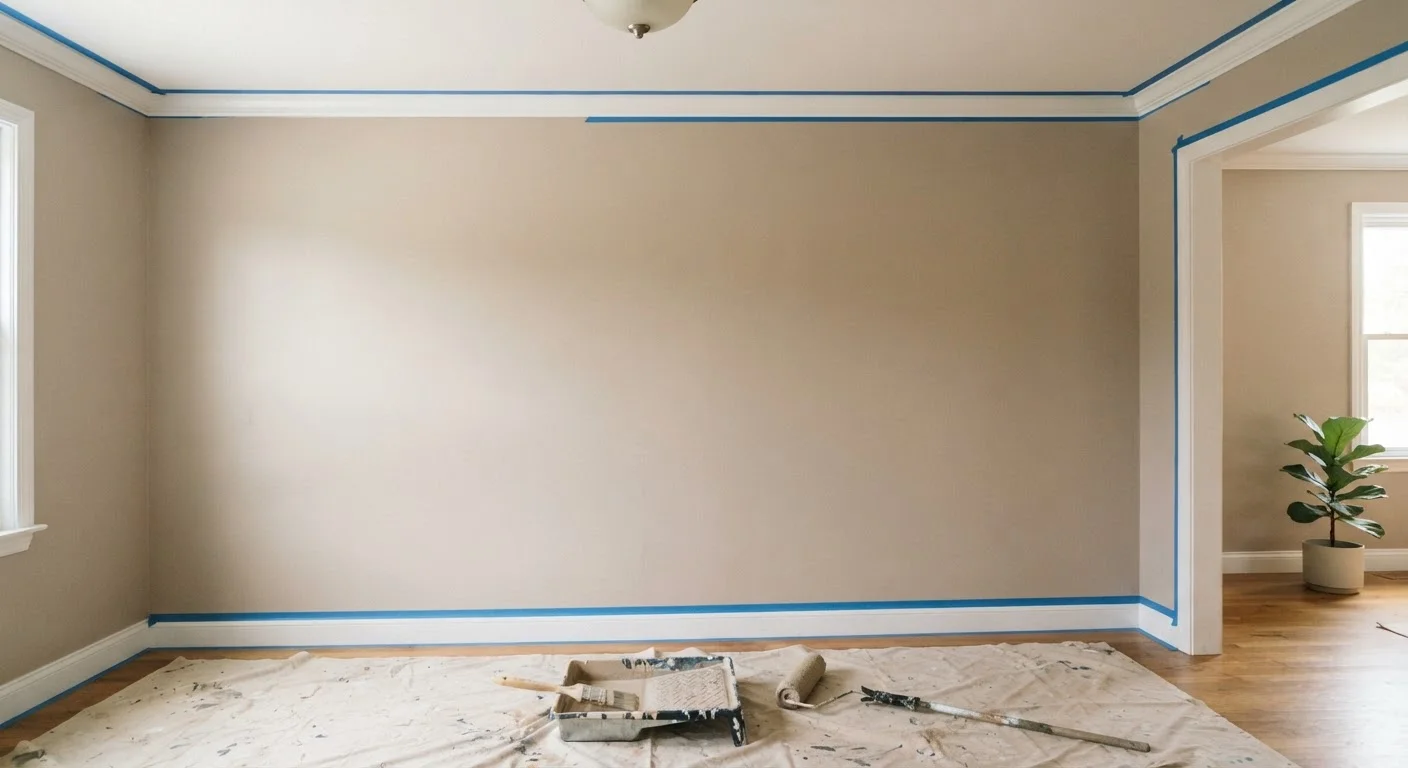
Press tape firmly along baseboards, window trim, door frames, and the ceiling line where it meets the wall. Run a putty knife or your fingernail along the tape edge to seal it flat - this is the step most people skip, and it's why paint bleeds under tape. Remove the tape while the final coat is still slightly tacky (not fully dry) to get a clean peel.
Prime where it matters
Spot-prime all patched areas at minimum. If you're covering a dark color, painting raw or new drywall, or dealing with water stains, prime the entire surface. Allow primer to dry fully per the manufacturer's guidance before applying paint. Priming is not optional on patched spots - unprimmed patches absorb paint differently and will show as dull circles through your topcoat.
Cut in the edges first
Before the roller touches the wall, use your angled sash brush to cut in along the ceiling line, corners, and all trim edges. Work in sections of about 3-4 feet at a time to keep a wet edge. Load the brush moderately - too much paint causes drips, too little creates drag marks. Cutting in creates a band of brushed paint about 2-3 inches wide that the roller will blend into.
Roll the walls in sections
Load your roller evenly in the tray, removing excess so it doesn't drip. Work in 3-foot wide vertical sections, using a W or M pattern to distribute paint before smoothing with vertical strokes. Keep a wet edge at all times by overlapping each new section into the previous one before it dries. Apply light, consistent pressure - pressing too hard leaves stippling marks.
Apply a second coat
Allow the first coat to dry completely - typically two to four hours for latex paint, though humidity and temperature affect this. Don't judge coverage from the first coat; it's meant to be imperfect. The second coat is where color depth and even sheen develop. Repeat the cut-in-then-roll sequence. Two thin, even coats will always look better than one heavy coat loaded on to save time.
Keep a Wet Edge Throughout
The most common cause of visible lap marks is letting paint dry before blending the next section. Work at a steady pace and don't stop mid-wall for long breaks. If you need to pause, stop at a natural break point like a corner rather than mid-wall.
Common Mistakes and How to Avoid Them
Even well-prepared painters run into trouble. Here's what most often goes wrong and how to course-correct.
Don't Skip Wall Prep to Save Time
Painting over grease, dust, or unpatched holes doesn't seal the problem - it highlights it. Paint on a dirty wall adhesion fails faster, and unpatched areas telegraph through even two finish coats. The prep phase typically takes longer than the painting itself, and that's normal.
If you're working on a broader refresh - new fixtures, updated decor, or rethinking the room's function - consider doing a room-by-room audit before you redecorate so painting fits into a coherent plan rather than a reactive one. For those managing costs carefully, planning your home improvement projects without the overwhelm is worth reading before you commit to a full room repaint.