Why Open-Plan Spaces Need Intentional Zoning
Open-plan studios and loft-style apartments offer generous light and a sense of space - but without clear zones, a single room has to do everything at once: sleep, work, cook, and relax. That blur is mentally exhausting and practically inefficient. The challenge for renters is that traditional fixes - partition walls, built-in shelving, fixed curtain tracks - all risk your security deposit.
The good news is that thoughtful, deposit-safe zoning is genuinely achievable. Many of the most effective methods rely on furniture placement, soft furnishings, and portable structures rather than anything attached to a wall or ceiling permanently. For a broader look at how spatial thinking applies across your whole home, see Small-Space Organization Principles That Hold Up Across Every Room.
What you will need
Tools and Materials You'll Need
The dividing methods below require different equipment depending on which approach you choose. Assemble only what you plan to use - you don't need all of these at once.
Freestanding bookshelf or shelving unit
Acts as an open-backed visual and physical partition between zones while providing storage.
Tension rod (ceiling-to-floor or wall-to-wall)
Supports hanging curtain panels as a room divider without drilling into walls or ceilings.
Large area rug (at least 5×8 ft)
Anchors a zone visually and acoustically, signalling a distinct functional area underfoot.
Floor lamp or pendant light (plug-in)
Defines a zone with a dedicated light source, reinforcing separation without structural changes.
Folding or bi-fold room screen
Provides a portable, flexible partition that can be repositioned or stored flat when not needed.
Furniture pads or felt feet
Protects hardwood or laminate flooring from scratches when moving or positioning heavy furniture.
Step-by-Step: Creating Your Zones
Work through these steps in order. You'll map your room first, then layer in dividers progressively so you can assess the effect at each stage before committing.
Sketch your zones before moving anything
On paper or a simple app, sketch the room's footprint and label the functions you need: sleep, work, lounge, dining, or whichever combination applies to you. Draw a rough boundary between each. This map keeps you from rearranging furniture repeatedly and helps you identify which boundary most needs a physical divider versus a visual cue.
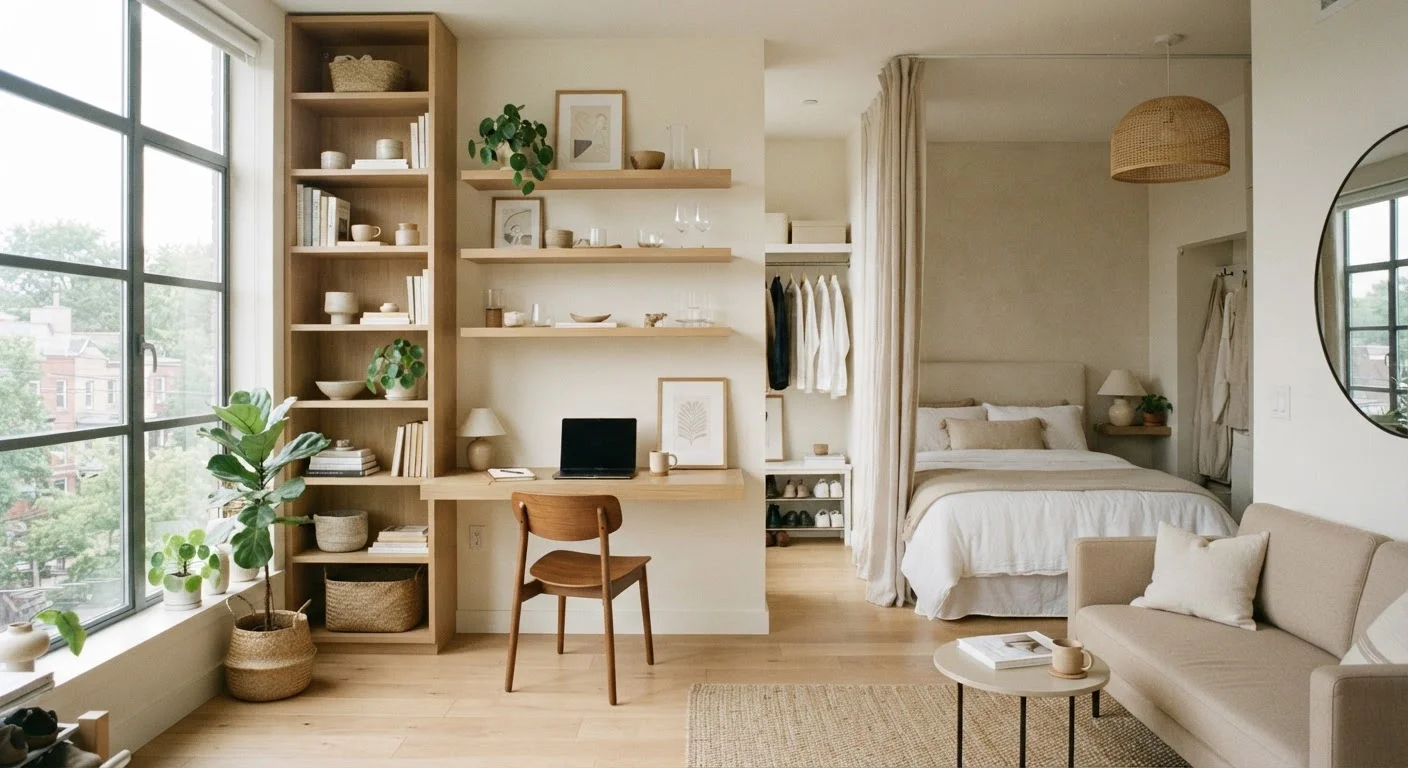
Position a freestanding shelving unit as your primary divider
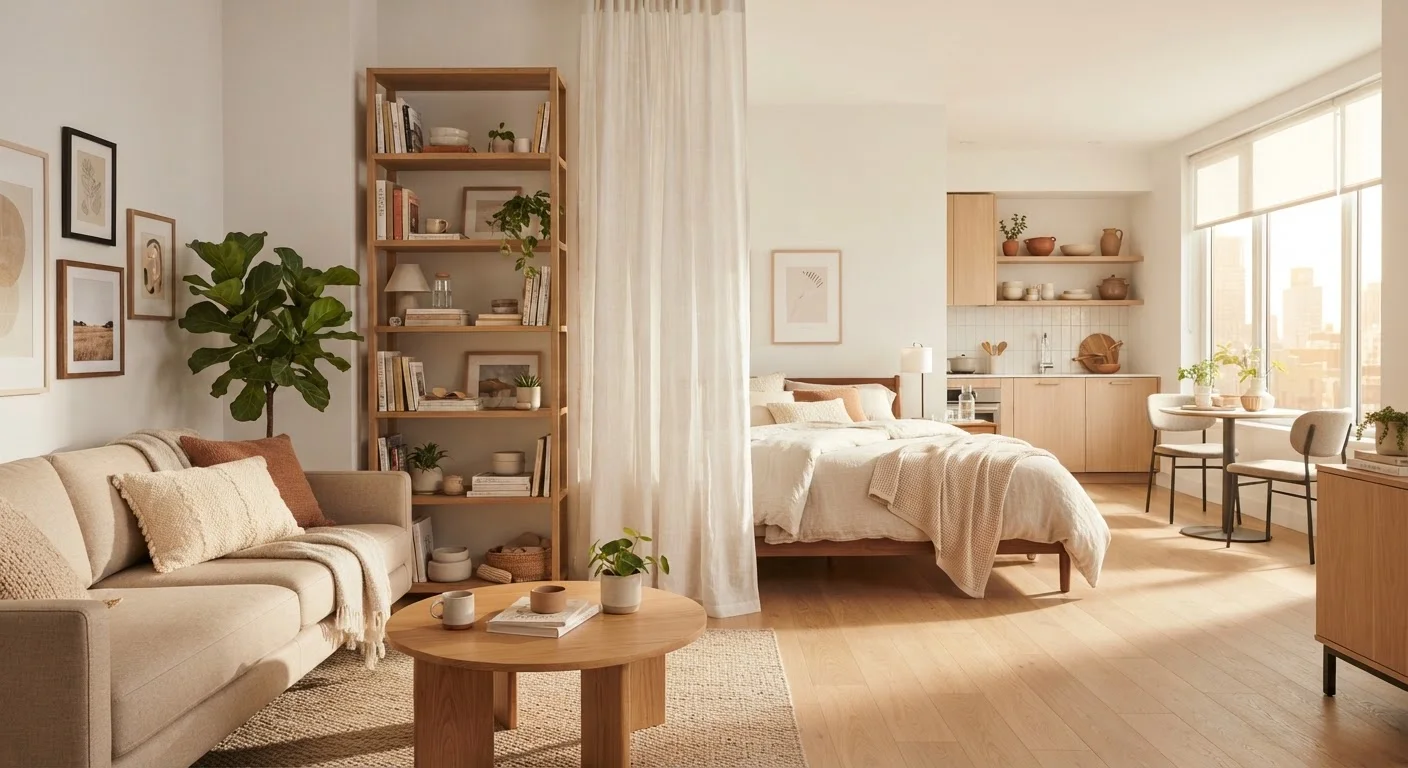
Place a bookshelf - ideally open-backed so light passes through - perpendicular to the longest wall to mark the main boundary between your highest-contrast zones (e.g., sleeping and living). Keep it below 6 ft tall if the unit is not anchored, or anchor it using a non-damaging anti-tip strap rated for renters (these attach to the unit itself, not the wall stud, via adhesive anchor pads). Load heavier items on lower shelves to keep the centre of gravity low.
For storage-doubling strategies that pair well with this step, see Vertical Storage vs. Horizontal Storage.
Add a curtain panel on a tension rod for a softer partition
For zones that need more visual privacy than a bookshelf provides - particularly around a sleeping or dressing area - install a floor-to-ceiling tension rod between two walls or use a free-hanging curtain rod that sits in a floor plate and ceiling cup (no screws required). Hang a panel of medium-weight fabric. This method is fully reversible and adds warmth and acoustics to the space.
Define each zone with a rug and dedicated lighting
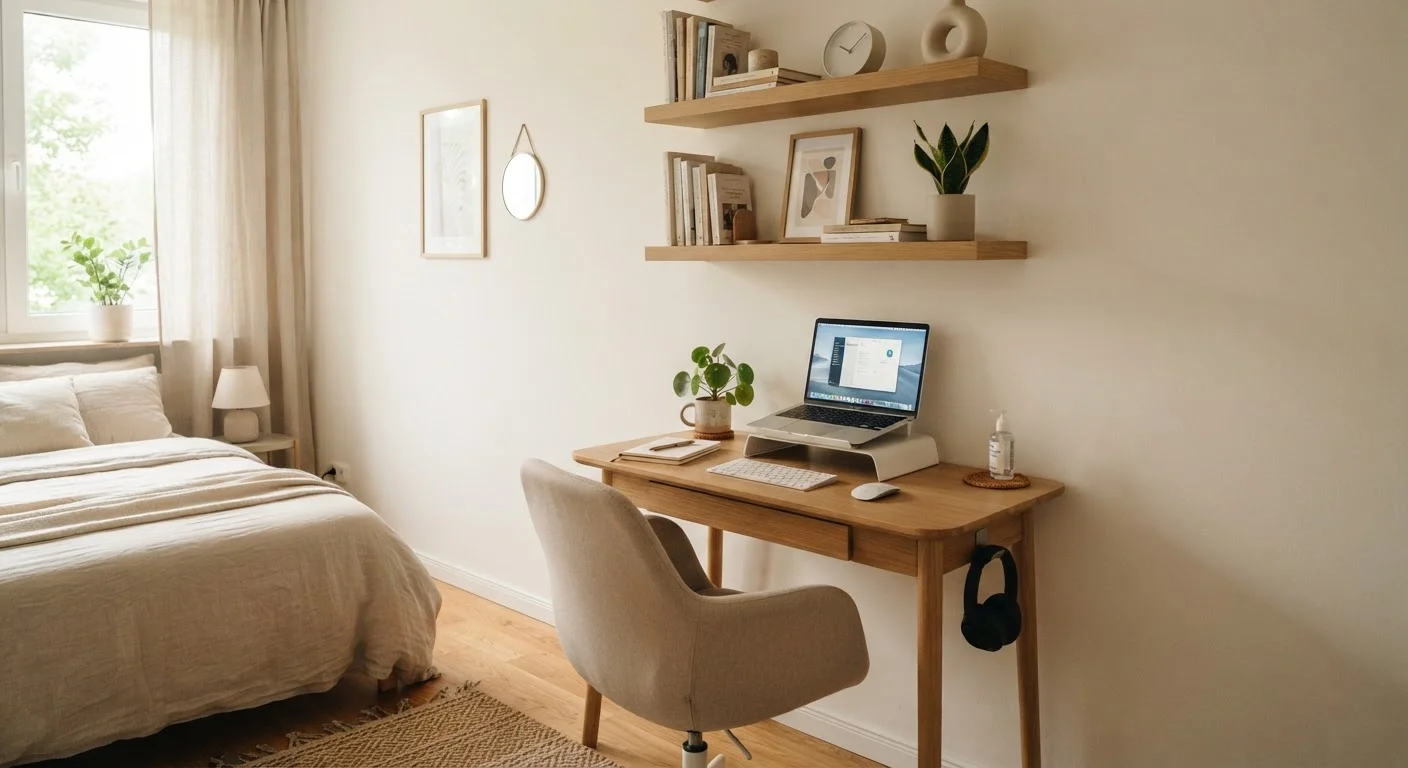
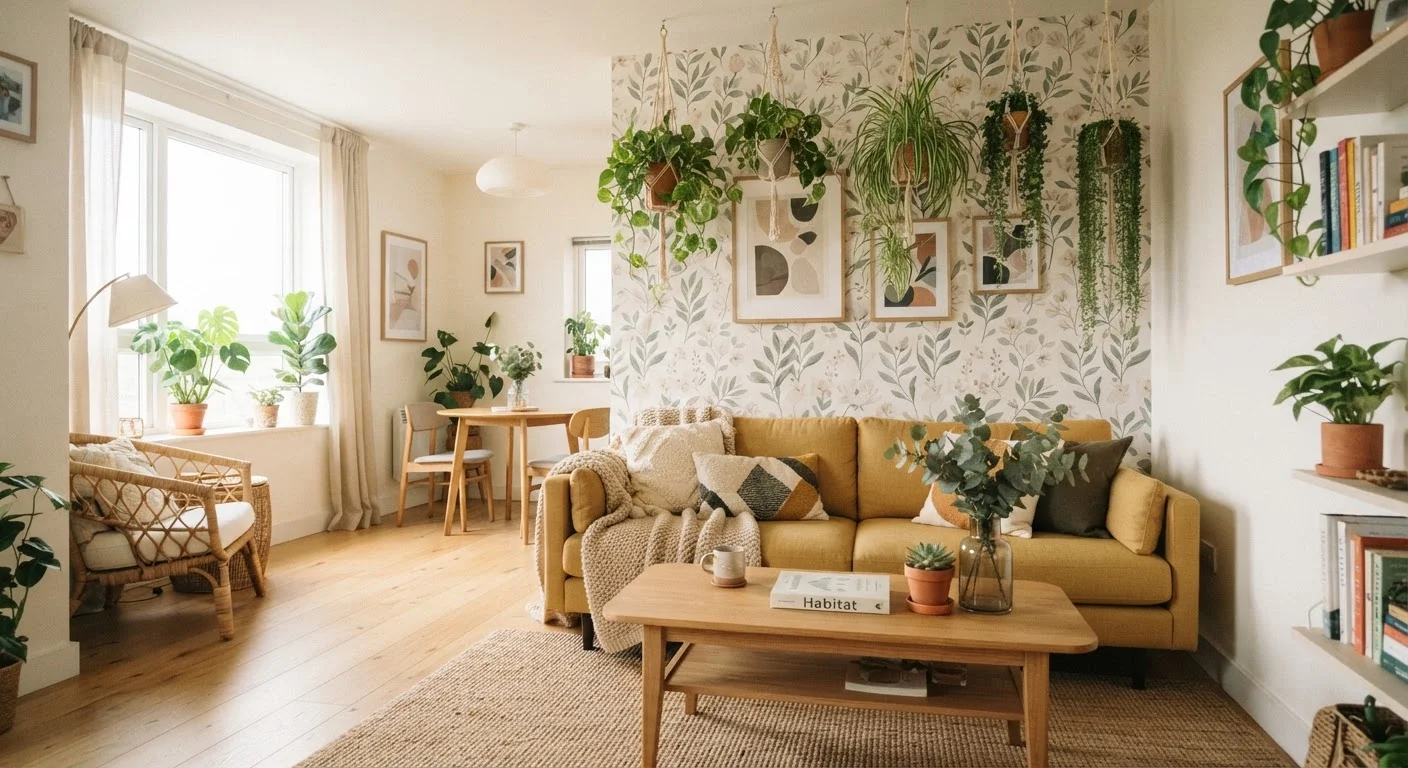
Place an area rug sized to contain the key furniture in each zone - a rug under a sofa and coffee table anchors a lounge area clearly, while a rug under or beside a bed marks the sleeping zone. Follow each rug with a dedicated light source: a plug-in pendant or floor lamp on a timer works well for a sleeping zone; a task lamp on a desk signals a work zone. These two cues - floor texture and light level - operate on a subconscious level to make the separation feel real even without a physical barrier.
Photograph the final arrangement and store your documentation
Once your layout is set, photograph every zone and every piece of furniture or flooring that has been repositioned. Store these images with your move-in inventory or lease documents. If you used adhesive anti-tip straps, keep the product packaging so you can demonstrate they were designed to be removable. This documentation is your primary protection when it comes time to reclaim your deposit.
Layer Methods for a More Polished Result
A single bookshelf creates a boundary, but pairing it with a rug on each side and distinct lighting makes the zones feel genuinely separate. Think of each method as a layer: the more layers you add to a boundary, the more convincing the separation becomes. Start with one layer and add more only if the distinction still feels ambiguous.
Common Pitfalls and How to Avoid Them
Even deposit-safe methods can go wrong if you're not careful. The most frequent mistake is overcrowding - adding so many dividing elements that the room feels smaller and harder to move through. Aim for one primary divider (such as a bookshelf or curtain) with one or two supporting cues (a rug, a lamp) per zone boundary rather than stacking multiple tall structures.
A second common issue is ignoring light. Tall opaque dividers placed between a window and a living area can block natural light into whichever zone ends up at the far side. Favour open-backed shelving, semi-sheer curtains, or low-profile furniture as the primary divider whenever a window sits centrally in the room.
Check Your Lease Before You Start
Some tenancy agreements restrict the use of certain adhesives, limit freestanding furniture above a certain height, or require landlord approval for significant layout changes. Review your lease before purchasing any dividing solution, and when in doubt, send a brief written message to your landlord or property manager asking for clarification. A paper trail protects both parties.
If your focus is on carving out a workspace specifically, Setting Up a Home Office in a Shared Flat goes deeper on acoustic separation and desk ergonomics in constrained spaces. And for the full picture on deposit-safe changes beyond room dividing, Renter-Friendly Upgrades That Don't Void Your Lease is worth bookmarking.