What Each Sealant Is Made Of - and Why It Matters
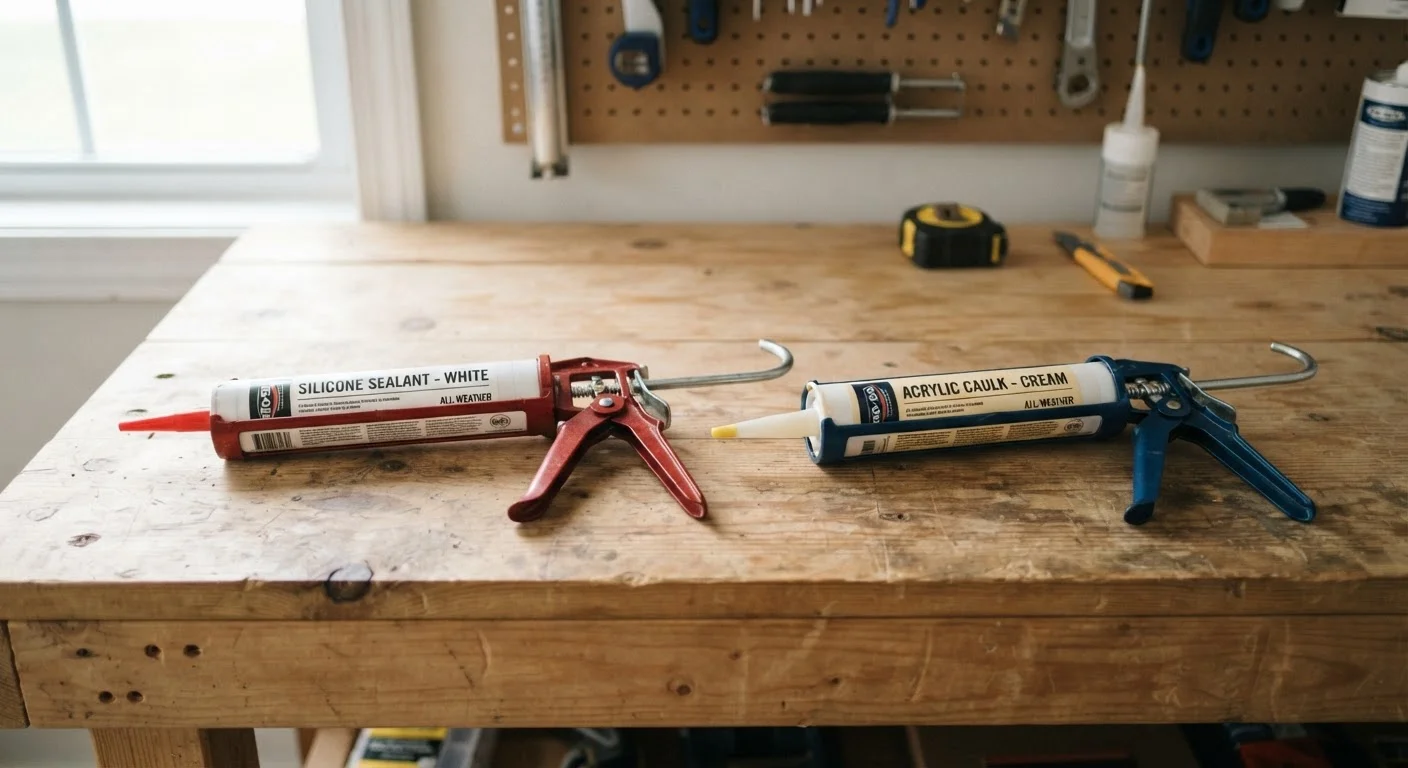
Despite doing similar jobs at first glance, silicone and acrylic sealants have fundamentally different chemistries that determine where each one belongs.
Silicone sealant is a rubber-based compound that cures into a permanently flexible, waterproof seal. Because it doesn't shrink or harden with age, it can accommodate movement in a joint without cracking. It's also highly resistant to temperature extremes, UV exposure, and sustained moisture.
Acrylic sealant (sometimes called decorators' caulk) is water-based and cures by drying rather than by chemical reaction. This means it can be cleaned up with water before it sets, painted over once dry, and sanded to a smooth finish - advantages that silicone simply cannot match. However, it's less tolerant of ongoing moisture and joint movement.
Understanding this distinction upfront saves you from the most common sealant mistake: applying a decorating caulk in a shower, or squeezing silicone into a skirting board gap you planned to paint over.
Comparing Silicone and Acrylic Across Key Criteria
The table below breaks down how each sealant type performs across the factors that matter most for common home repair scenarios.
| Silicone Sealant | Acrylic Sealant | |
|---|---|---|
| Flexibility after curing | Permanently flexible, elastic | Rigid once dry, can crack |
| Water resistance | Excellent - fully waterproof | Low - degrades with sustained moisture |
| Paintability | Cannot be painted over | Fully paintable once dry |
| Best surface type | Non-porous: glass, ceramic, metal | Porous: wood, plaster, drywall |
| Cleanup before curing | Requires solvent or mineral spirits | Cleans up with water |
| Mold resistance | High - with mold-inhibiting formulas | Low - absorbs moisture over time |
| Typical applications | Baths, showers, exterior frames | Skirting boards, coving, interior trim |
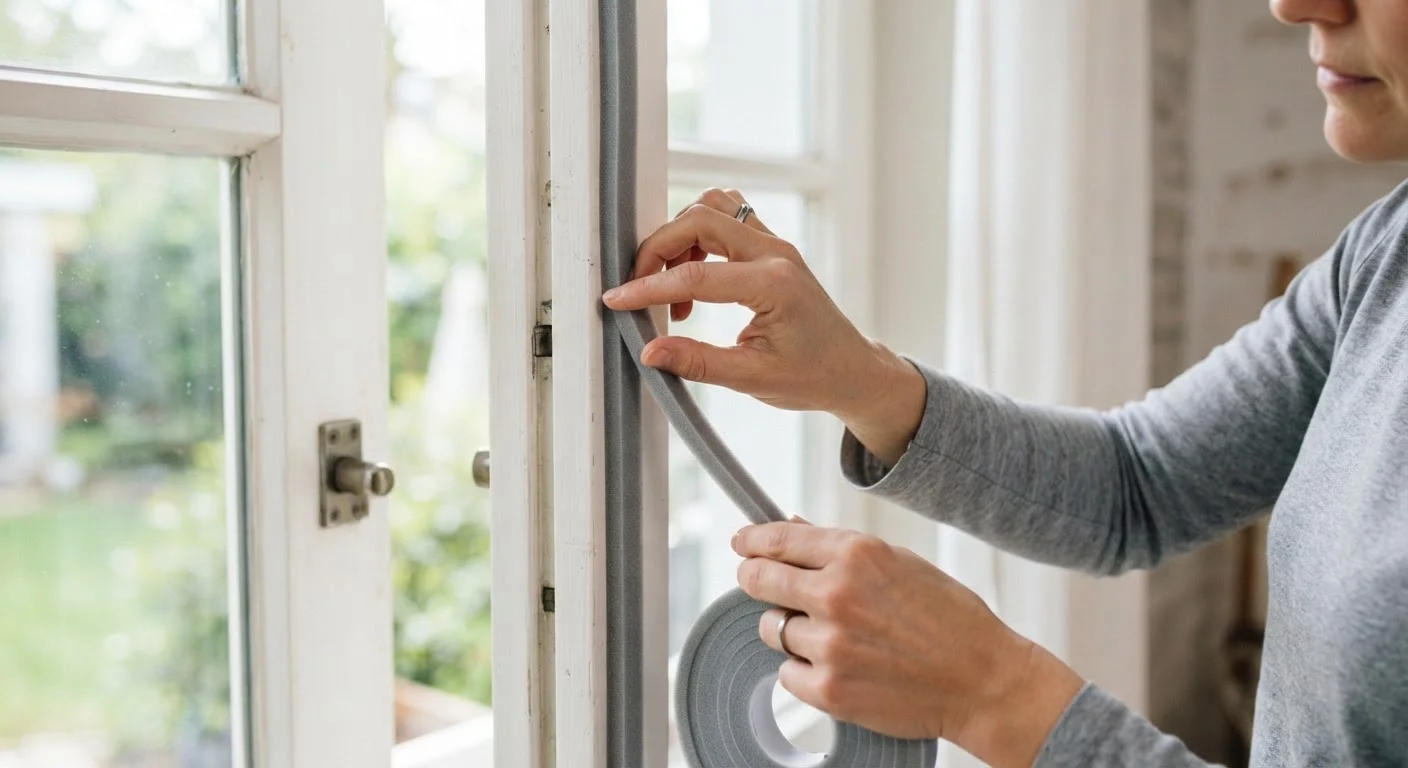
For gaps around window and door frames where air leakage is the primary concern, the choice depends on whether the joint is interior or exterior. Our guide on sealing draughts around windows and doors covers those scenarios in more detail.
Where to Use Each Sealant in Your Home
Matching sealant to location is more useful than memorising product specs. Here's a practical room-by-room breakdown:
Use Silicone In:
- Bathrooms and wet rooms - around bath rims, shower trays, between tiles and fixtures, around basins and taps
- Kitchens - the joint between the countertop and splashback, around sink basins
- Exterior joints - around window and door frames on the outside of the home where rain exposure is constant
- Any joint subject to movement - expansion gaps in flooring, junctions between different building materials
Use Acrylic In:
- Interior trim and woodwork - skirting boards, architraves, coving, and cornicing where a seamless painted finish is needed
- Dry interior walls - filling gaps between wall and ceiling before decorating
- Around door and window frames internally - where the gap will be painted the same colour as the wall or trim
Test Adhesion on a Hidden Spot First
Before running a full bead along a visible joint, apply a small amount of sealant to an inconspicuous area and let it cure. This is especially useful on painted surfaces or unusual materials where adhesion can be unpredictable. It takes only minutes and can save you from having to remove a long run of poorly bonded sealant.
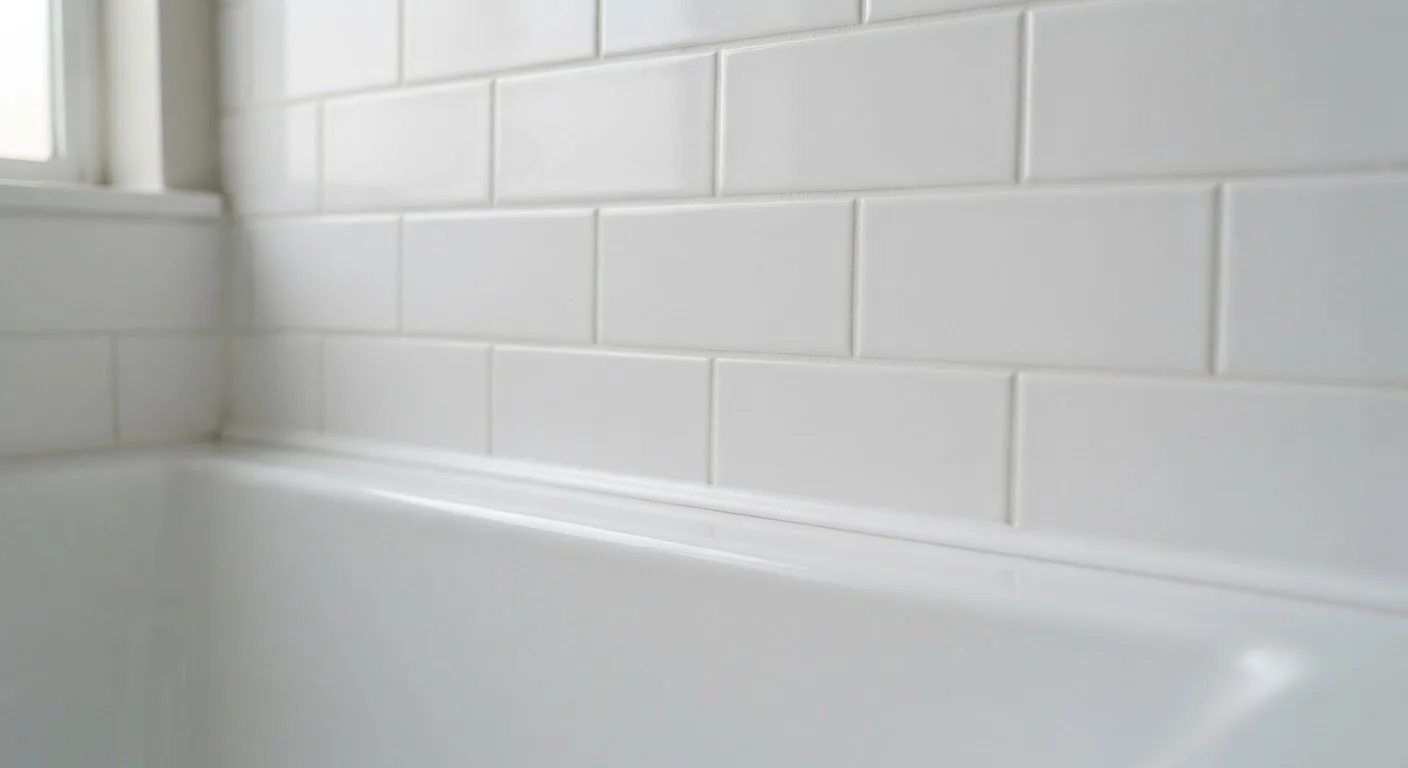
If you're working in a bathroom with tiles, the decision between sealant and grout is equally important. Our article on grout vs caulk in tiled spaces explains which product belongs where along tile edges and corners.
Application Tips That Make the Difference
Even the correct sealant will fail early if it's applied poorly. A few technique habits pay off significantly:
- Clean and dry the surface thoroughly before applying either product. Old sealant, soap scum, dust, or grease will prevent adhesion regardless of product type.
- Cut the nozzle at a 45-degree angle to a size that matches the gap - too wide creates excess waste and an untidy bead.
- Apply in a single continuous pass where possible, holding the gun at a consistent angle.
- Tool the bead immediately using a dampened finger or a caulk tool to press it into the joint and create a concave surface that sheds water.
- Allow full cure time before exposing to moisture. Silicone typically takes 24 hours to skin and up to 72 hours to fully cure; acrylic dries faster but shouldn't be painted over within the first hour or two.
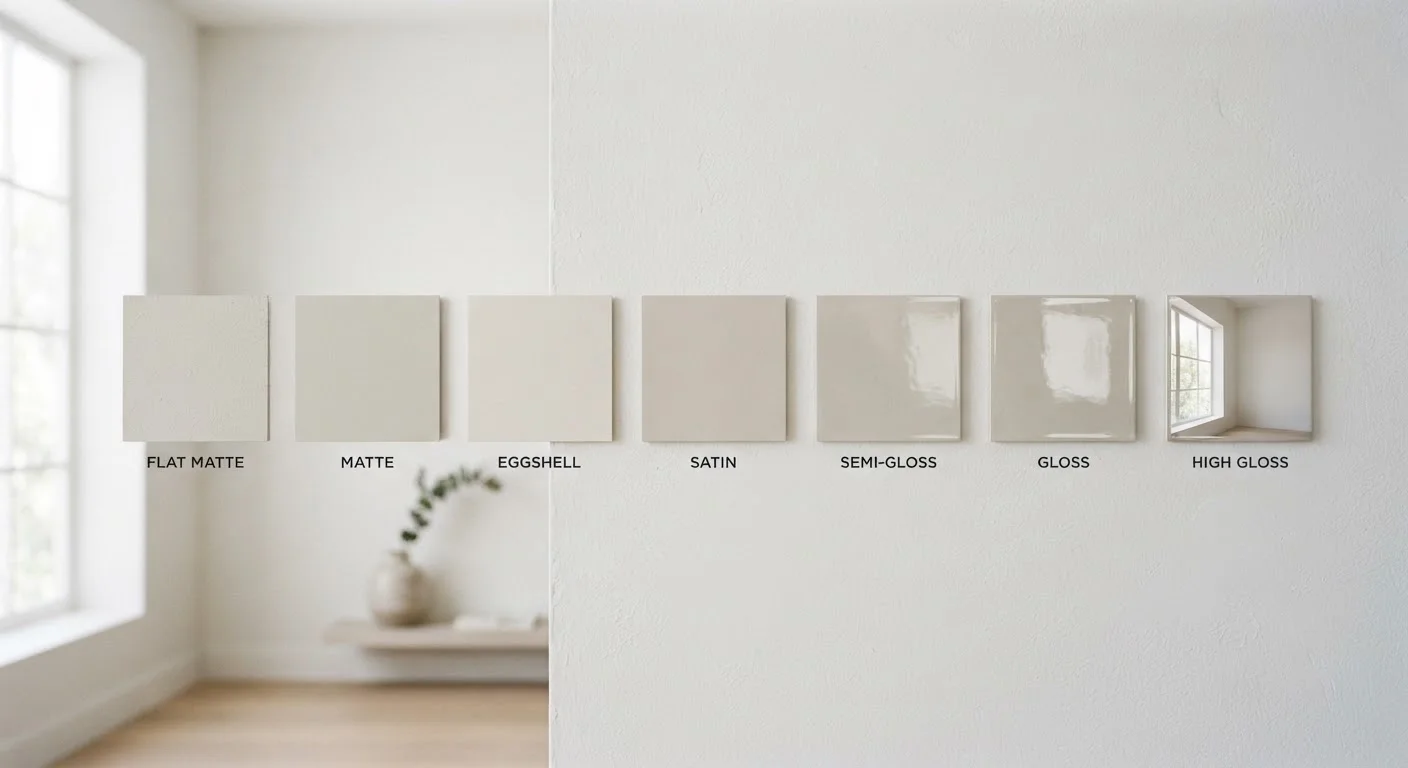
When you're ready to decorate the surrounding area, the finish on adjacent surfaces also matters. Our guide on understanding paint finishes and where each one belongs helps you choose the right sheen for walls near sealed joints.
Don't Use Acrylic Sealant in Wet Zones
Water-based acrylic caulk will soften, discolor, and eventually grow mold if it's continuously exposed to moisture. Using decorators' caulk around a bath or shower - even temporarily - creates conditions where mold can grow behind the seal before visible surface signs appear. Always use a silicone product rated for wet areas in bathrooms and kitchens.