
Why Draught-Sealing Is Worth Doing Now
Gaps around windows and doors are among the most common sources of unwanted heat loss in residential homes. Even a gap the width of a pencil running the length of a door frame allows a surprising amount of cold air to enter and conditioned air to escape. The result is a home that feels harder to keep warm - and heating systems that run longer to compensate.
The good news is that draught-sealing is one of the most accessible home improvement tasks available. It demands no prior experience, no power tools, and no permits. Before you buy anything, check out the pre-winter home walkthrough guide to build a full picture of where your home may be losing heat - draught gaps are just one piece of that puzzle.
Foam weatherstrip tape
Compresses to fill gaps in window and door frames where the sash or door leaf meets the frame.
V-strip (tension seal) weatherstripping
Fits inside door and window channels to seal gaps along the sides without impeding movement.
Door draught excluder
Seals the gap at the bottom of an exterior door where foam tape cannot reach effectively.
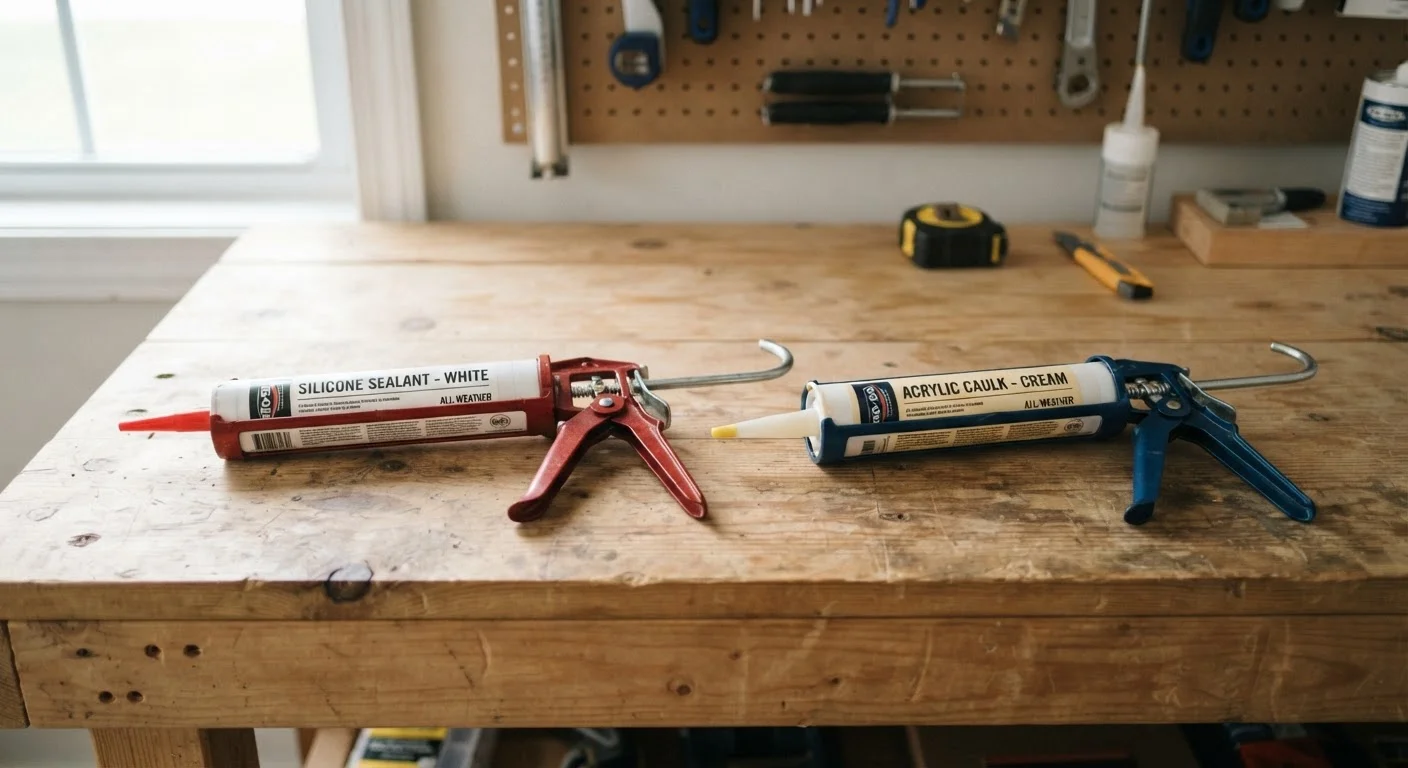
Silicone or acrylic caulk with applicator gun
Fills static gaps between the window or door frame and the surrounding wall or trim.
Utility knife or scissors
Trims weatherstripping and foam tape to precise lengths.
Isopropyl alcohol and clean cloth
Degreases surfaces so that adhesive-backed tapes bond properly and last through the season.
Candle or incense stick
Reveals air movement near frames so you can pinpoint leaks before applying any materials.
Finding the Leaks Before You Seal Them
Effective sealing starts with accurate diagnosis. On a cold, windy day, move slowly around each window and exterior door with either a lit candle or your dampened hand held close to the frame edges. Flickering flame or felt cold air indicates a leak. Pay particular attention to the corners of frames, the gap between the frame and the surrounding wall, and the threshold at the bottom of exterior doors.
Mark each problem area with low-tack masking tape or a pencil note on a sketch of the room. This prevents you from buying more material than needed and ensures you address every gap rather than just the most obvious ones.
Don't Seal Trickle Vents or Ventilation Gaps
Trickle vents - small openings built into modern window frames - are intentional and should never be sealed. They provide background ventilation that prevents condensation and maintains air quality. Only seal unintended gaps and cracks, not designed ventilation features. If you are unsure whether a gap is structural or ventilation-related, consult a qualified window installer.
How to Seal Each Gap Type
Different gaps call for different solutions. Use the steps below as a sequence - work from the perimeter caulking inward to the moving parts of the window or door.
Clean and dry all surfaces
Wipe down every surface you plan to seal using a cloth dampened with isopropyl alcohol. Remove any old foam tape, paint flakes, or grime. Adhesive-backed weatherstripping will not bond reliably to dusty or greasy frames, and sealant applied over damp surfaces may not cure properly. Allow surfaces to dry fully - at least 15 minutes in a ventilated room - before proceeding.
Apply foam tape to window sash and door stop gaps
Measure the perimeter of the window sash or the door stop (the inner ridge the door closes against). Cut foam tape to length using scissors or a utility knife. Peel the backing and press the tape firmly along the frame surface the moving sash or door leaf contacts when closed. Close the window or door slowly to compress the foam - it should create a snug seal without making the mechanism difficult to operate.
Install V-strip weatherstripping in door and window channels
V-strip (also called tension seal) is a folded strip of plastic or metal that fits inside the channel a window slides in, or along the door jamb. Cut to length, insert the strip with the open end of the V facing outward toward the source of air. Press it flat into the channel - most V-strips are either self-adhesive or can be tacked in place. When the door or window closes, the strip compresses and seals the side gaps without impeding smooth operation.
Fit a draught excluder at the door threshold
The gap at the bottom of an exterior door is often the largest single air leak in a home. Measure the door width and cut an adhesive-backed door bottom seal or fit an under-door draught excluder to that measurement. Adhesive door sweeps attach directly to the door face and drag gently across the threshold when the door moves. Threshold seals mount on the floor and the door compresses them on closing. Choose based on your flooring type - sweeps work well on smooth floors; threshold seals suit uneven or gapped thresholds.
Caulk static gaps between frame and wall
Load your chosen caulk into the applicator gun and cut the nozzle at a 45-degree angle to a size matching your gap. Apply steady, even pressure as you run a continuous bead along the joint between the window or door frame and the surrounding wall or trim. Smooth the bead with a damp finger or a caulk tool within a minute of application. Allow full cure time before painting - check the product label, as silicone and acrylic cures differ significantly.
For gaps between the frame and the surrounding wall trim, the choice of sealant matters more than most beginners expect. Silicone remains flexible and handles moisture well, making it suitable for exterior-facing surfaces. Acrylic is easier to paint over but less tolerant of movement. See the guide to choosing between silicone and acrylic sealant to match the right product to your specific surfaces.
Test Your Work Before Winter Hits
Once all sealing is complete, repeat the candle or hand test on a cold day. Any remaining flicker or cold sensation points to a gap you missed or a tape section that didn't adhere correctly. It's far easier to fix now than in the middle of winter.