Sizing Up the Damage
Not all drywall damage is created equal, and the repair approach varies significantly by hole size. Understanding which category your damage falls into before reaching for materials will save you time and frustration.
- Nail holes and minor dents (under ½ inch): A single application of lightweight spackle or spackling compound, let dry, and sand smooth is all that's needed.
- Small holes (½ inch to 4 inches): Self-adhesive mesh patches provide the backing needed to hold compound without requiring you to open up the wall further.
- Medium to large holes (4 inches to fist-sized): These require a more structured fix - either a California patch (using the drywall itself as a backer) or a wood-backed patch with new drywall cut to fit.
Part of smart home repair is knowing the full scope of what you're taking on before you start. If you're juggling multiple projects, the home improvement planning guide can help you sequence and scope work without overspending.
What you will need
What You'll Need
Gather everything before you start. Stopping mid-repair to find a tool almost always leads to a messier result.
Lightweight spackle or joint compound
Fills the damaged area and creates a smooth, sandable surface over the patch.
Self-adhesive mesh patch (for holes ½-4 inches)
Provides a rigid backing for compound to adhere to without additional framing.
Drywall saw or utility knife
Cuts damaged drywall into a clean shape for medium to large hole repairs.
Putty knife or drywall knife (4-inch and 8-inch)
Applies and feathers joint compound across the patch area.
120-grit and 220-grit sandpaper or sanding sponge
Sands each dried coat of compound smooth before the next application.
Drywall primer (PVA primer)
Seals the repaired area so paint absorbs evenly and doesn't flash.
Wood furring strips or scrap lumber (for large holes)
Acts as a backing frame inside the wall cavity to support the new drywall piece.
Step-by-Step Repair Process
Follow these steps in order. Skipping ahead - especially during drying phases - is the most common reason DIY patches remain visible after painting.
Prepare the damaged area
Remove any loose paper facing, crumbled gypsum, or protruding nails or screws around the hole. For nail holes, tap any raised nail heads flush or slightly below the surface with a hammer. For jagged larger holes, use a utility knife to trim ragged edges into a cleaner shape - a square or rectangle is easiest to patch. Clean away dust with a dry cloth.
Apply backing for holes larger than ½ inch
For holes between ½ inch and 4 inches, press a self-adhesive mesh patch firmly over the hole, centered so the mesh extends at least an inch beyond the damage on all sides. For larger holes, cut a piece of replacement drywall to fit the opening, then screw wood furring strips inside the wall cavity on each side to create a nailing surface. Drive drywall screws through the new piece into the furring strips until the screw heads sit just below the surface.
Apply the first coat of joint compound
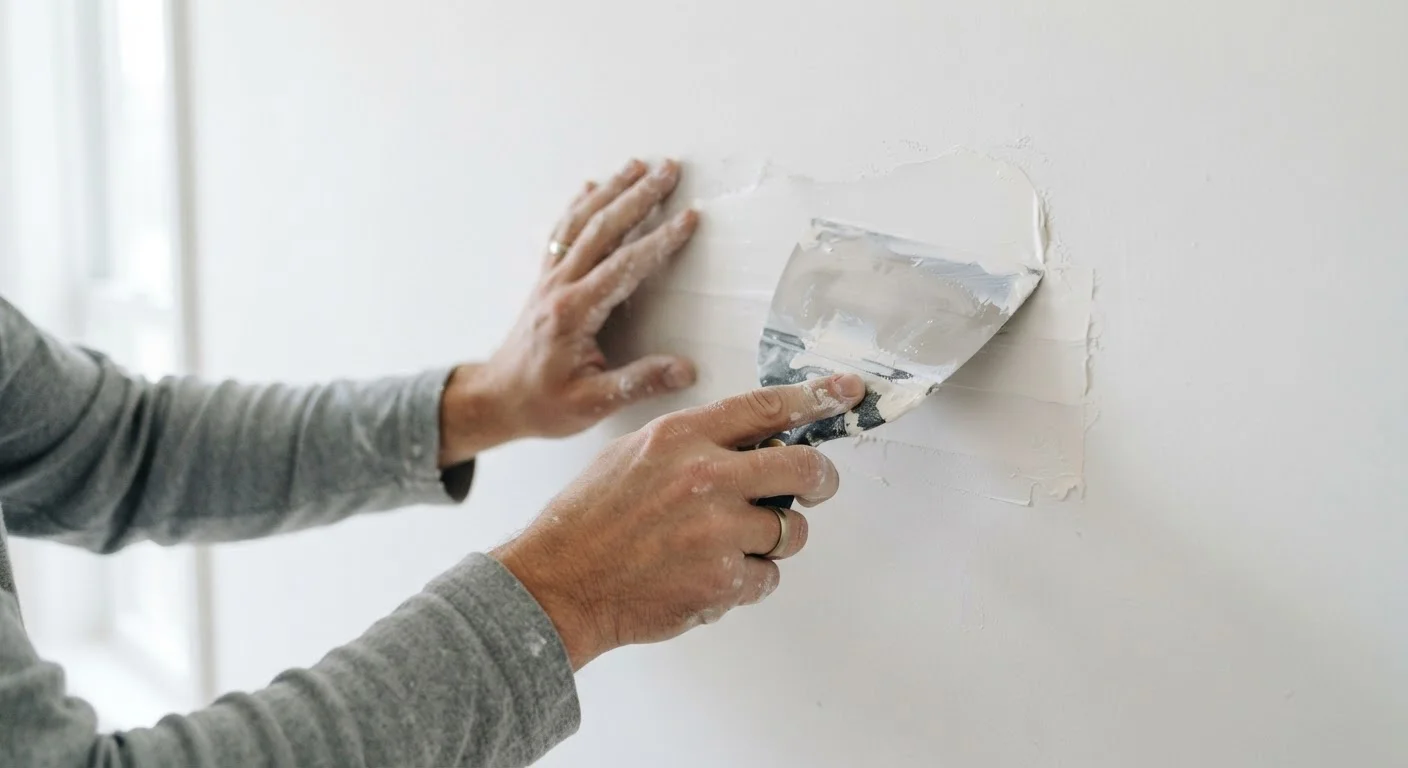
Using a 4-inch putty knife for small holes or an 8-inch knife for larger repairs, apply a thin layer of joint compound over the patch. Work from the center outward, pressing compound firmly into the mesh or seams. Feather the edges - meaning thin the compound gradually as you move outward so there's no abrupt ridge. Aim for a coat no thicker than about ⅛ inch.
Let dry completely, then sand
Allow the compound to dry fully - it will shift from a darker, wet gray to a consistent white or off-white. Drying time depends on coat thickness and humidity but typically ranges from 4 to 24 hours. Do not rush with a heat gun or fan aimed directly at the patch, as uneven drying can cause surface cracking. Once dry, sand lightly with 120-grit sandpaper, then wipe away dust with a damp cloth.
Apply a second (and third) coat
Apply a second coat of compound, this time widening the feathered area by a few inches with your 8-inch knife. The goal with each successive coat is to blend the repair seamlessly into the surrounding wall - not to build up thickness. For larger patches, a third coat is usually needed. Sand with 220-grit sandpaper after the final coat for a smooth finish and wipe clean.
The Feathering Technique Is Everything
Most visible patches fail not because of the hole - but because of hard compound edges. Each coat should extend a few inches wider than the last, thinning to nearly nothing at the outer boundary. A wide 10- or 12-inch drywall knife on the final coat makes this much easier to achieve consistently.
Finishing and Painting the Patch
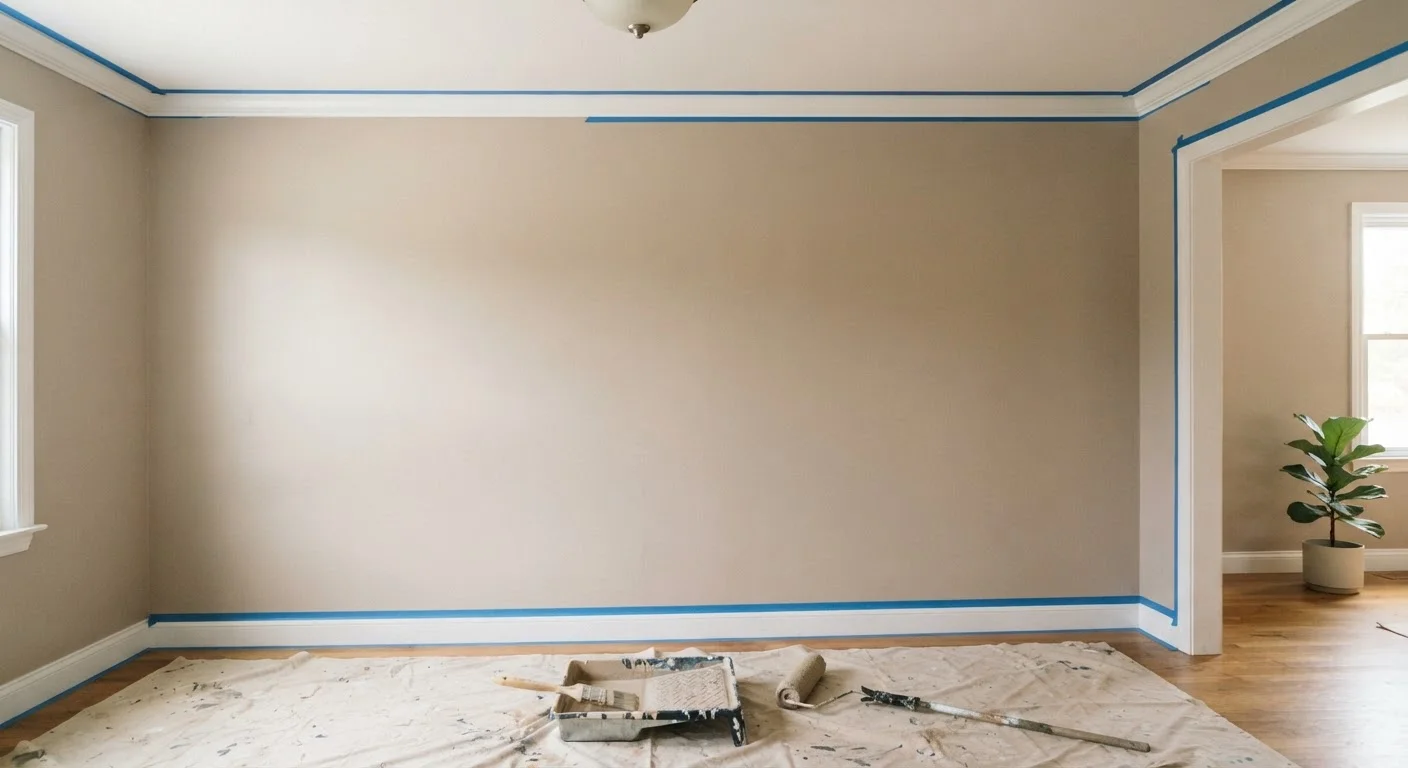
A well-executed patch can still stand out if the finishing is skipped. Once your final coat of compound is fully dry and sanded to a smooth finish, the surface needs to be primed before any paint goes on. Drywall compound is highly porous and will absorb paint unevenly, creating a dull or flattened spot - called flashing - even when colors match perfectly.
Apply a coat of drywall primer (also labeled PVA primer) to the patched area and extend it a few inches past the repair boundary. Let it dry completely. Once primed, paint the wall using the same technique and product you used originally. For large patches or full-wall repaints, feathering the painted area out to natural breaks like corners will help blend the repair.
For comprehensive guidance on achieving a clean painted finish, see how to paint a room that looks professional.
Never Skip the Primer Step
Painting directly over joint compound - even with primer-in-paint products - almost always results in a dull, flat spot called flashing. This is especially visible under raking light or when the wall has any sheen finish. A dedicated PVA drywall primer applied before topcoating is the only reliable way to prevent it.