Why Regrouting Goes Wrong More Often Than It Should
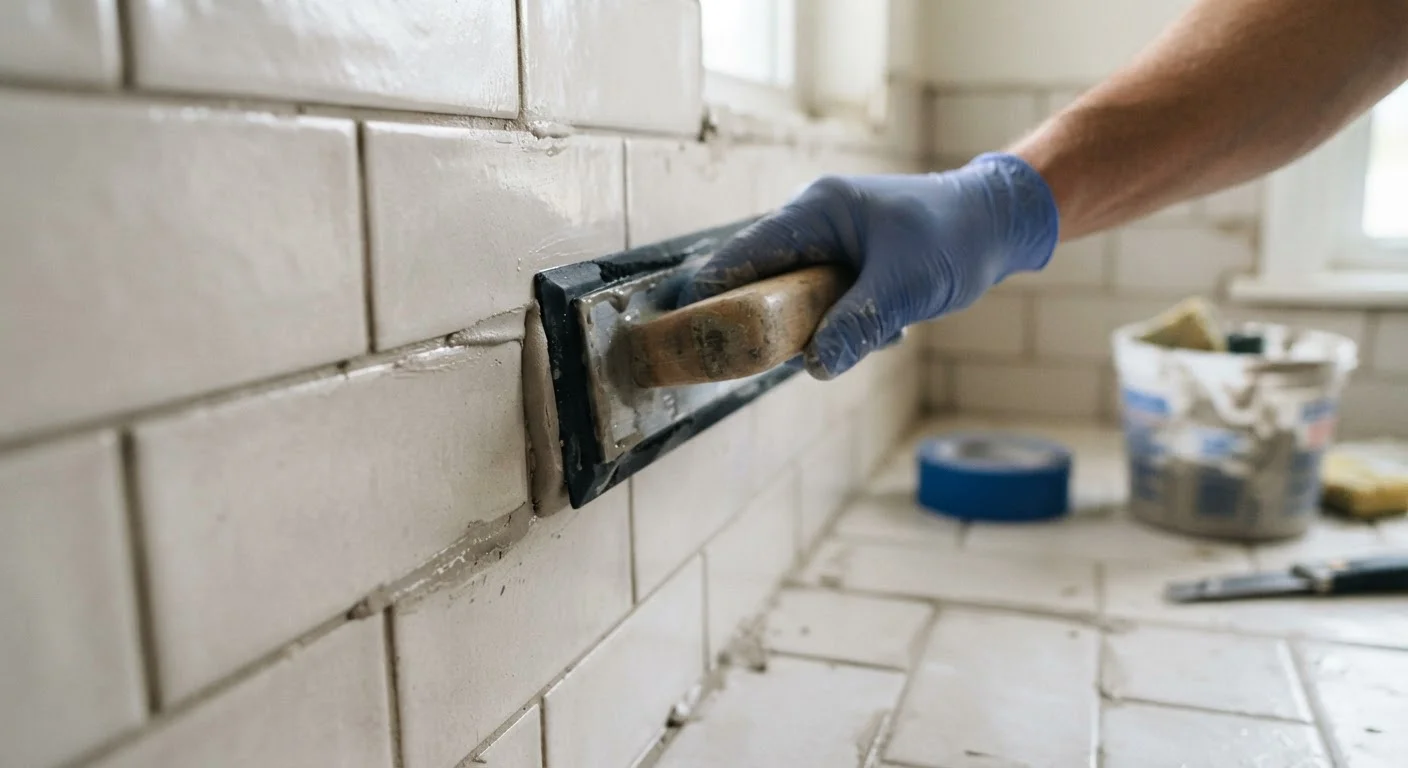
Bathroom regrouting looks deceptively simple: scrape out the old, press in the new. But the gap between a clean, lasting result and a crumbling mess almost always comes down to decisions made before the first trowel touches a tile. Understanding where things go wrong - and why - is the fastest way to get it right the first time.
As the DIY myths article explores, shortcuts that feel logical in the moment often create expensive follow-up work. Regrouting is a prime example. The mistakes below are the ones professionals see repeatedly on DIY regrout jobs that need to be redone.
Using the wrong grout type for the tile spacing or location.
Why it happens: Most beginners assume grout is a single product. In reality, sanded grout is designed for joints wider than 1/8 inch, while unsanded grout is used for narrower joints - using the wrong type leads to cracking or insufficient fill.
Failing to remove enough of the old grout before applying the new layer.
Why it happens: Scraping out grout is tedious, and it's tempting to apply new grout over a partially cleared joint to save time. However, new grout applied over old residue bonds poorly and will crack or lift within weeks.
Mixing grout to the wrong consistency.
Why it happens: Adding too much water speeds up mixing and makes the grout easier to spread, but it weakens the final bond and makes the grout more porous and prone to staining.
Leaving grout haze on tile surfaces too long.
Why it happens: After spreading grout, it's easy to move on to the next section before cleaning the surface. Once grout haze hardens on tile, it requires considerably more effort - sometimes an acidic cleaner - to remove.
Exposing freshly grouted surfaces to water before full cure.
Why it happens: New grout can look and feel dry within a few hours, which leads people to assume it's ready for use. Premature water exposure weakens the chemical curing process, reducing durability.
Skipping grout sealer after the project is complete.
Why it happens: Sealing feels like an optional finishing touch rather than a structural step, especially when the grout looks clean right after curing.
Setting Yourself Up for a Result That Lasts
Once you know which mistakes derail a regrout, the path forward becomes much clearer. A few disciplined preparation steps and the right material choices will carry most of the work.
1/8"
Minimum old grout removal depth for proper adhesion
Home improvement trade guidelines consistently cite this depth as the threshold below which new grout bonds unreliably to residual material.
48-72 hrs
Typical grout cure time before sealing or water exposure
Most cement-based grout manufacturers specify this window on product packaging; always defer to the specific product's instructions.
Start by investing time in the removal phase - it will feel slow, but a grout saw or oscillating multi-tool fitted with a grout blade makes it far more manageable than hand tools alone. Clean joints give the new grout something real to bond with. After application, cover the area with plastic sheeting if your bathroom sees heavy use, and resist the urge to test the water for at least 24 hours, or the full duration listed on your specific product's instructions.
Sealing is the step most DIYers skip because the grout looks fine immediately after curing. But unsealed grout in a shower or floor absorbs water and soap residue steadily, leading to the gray or black discoloration you were trying to fix in the first place. A penetrating grout sealer applied after full cure - typically 48-72 hours depending on the product - is one of the highest-return finishing steps in any bathroom project.
Don't Skip Ventilation During Grout Work
Grout dust and some grout formulas - particularly epoxy-based products - release particles and fumes that can irritate the respiratory system. Keep the bathroom well-ventilated throughout the project and wear an N95 dust mask during the removal phase. If you're working in a very small, enclosed bathroom, take regular breaks in fresh air.
Regrouting shares its most important lesson with other home improvement tasks like painting a room professionally: preparation and patience account for most of the final quality. The application itself is the smallest part of the job.