Why Tyre Wear Is a Diagnostic Tool, Not Just a Replacement Trigger
Most drivers notice worn tyres and assume the fix is straightforward: buy new ones. But tread wear is one of the most reliable indicators your vehicle has that something mechanical needs attention. The tyre is simply the messenger. Replace it without reading the message, and the replacement will wear out the same way - often faster.
The four main culprits behind abnormal wear are incorrect inflation pressure, wheel misalignment, worn suspension components, and driver behaviour. Each leaves a distinct fingerprint on the tread. Understanding those fingerprints means you can bring specific, actionable information to your mechanic rather than describing a vague problem.
Everyday driving habits - hard cornering, frequent hard braking, and persistent overloading - can also create or worsen uneven wear patterns. Addressing mechanical issues while continuing those habits will still shorten tyre life significantly.
What you will need
Tools You'll Need
You don't need a garage full of equipment to read a tyre wear pattern. A few basic items are enough to collect the information that determines your next step.
Tyre Pressure Gauge
Measures actual tyre inflation to compare against the manufacturer's recommended PSI.
Tread Depth Gauge
Provides a precise measurement of remaining tread depth across different points on the tyre.
Flashlight or Work Light
Illuminates the tyre sidewall and tread face so wear patterns are clearly visible.
Vehicle Owner's Manual
Contains the manufacturer's specified tyre pressure and tread wear indicator locations.
How to Read and Respond to Wear Patterns
Follow these steps to systematically inspect your tyres, identify what each wear pattern means, and take the right corrective action.
Park on a flat surface and visually scan all four tyres
Park on level ground and crouch down beside each tyre in turn. Look across the full width of the tread face - the part that contacts the road. You're checking for obvious differences in wear depth from one side of the tyre to the other, or between the centre and the edges. Note which tyre shows which pattern before moving on.
Check tread depth at three points across each tyre
Use a tread depth gauge (or a quarter as a quick proxy) to measure tread depth at the inner edge, centre, and outer edge of each tyre. Record the readings. A difference of more than 2/32 of an inch between the inner and outer edges - or between the centre and edges - indicates an uneven wear condition worth investigating.
Identify the wear pattern and match it to a likely cause
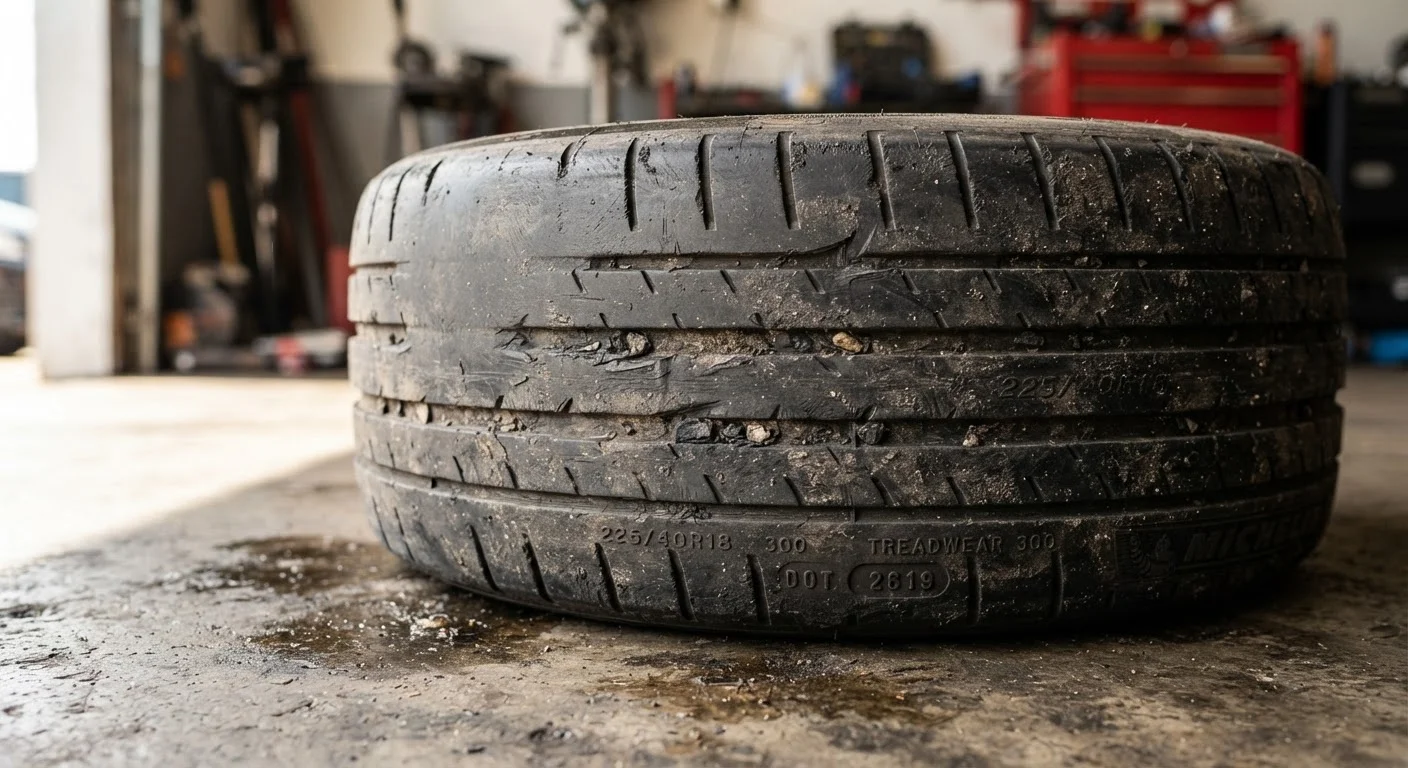
Use your measurements and visual observations to identify the pattern:
- Centre wear only: The tyre has been chronically over-inflated. The bulging centre contact patch carries too much load.
- Both edges worn, centre fine: Chronic under-inflation. The tyre bows outward, overloading the shoulders.
- One-sided wear (inner or outer edge only): A wheel alignment problem - camber or toe is out of specification. Can also indicate a worn ball joint or control arm bushing.
- Cupping or scalloping (irregular, wave-like dips around the tread): Shock absorbers or struts are worn and no longer controlling wheel bounce properly.
- Feathering (tread blocks rounded on one side, sharp on the other): Typically a toe alignment issue.
Check and correct tyre pressure
Check all four tyres cold (driven less than one mile) with a reliable pressure gauge. Compare each reading to the recommended PSI on the driver's door jamb sticker - not the maximum PSI moulded on the tyre sidewall, which is a safety ceiling, not a target. Inflate or deflate as needed. If over- or under-inflation was the sole cause of the wear pattern, correcting pressure now stops further damage.
Schedule a professional alignment and suspension inspection
If you identified one-sided wear, feathering, or cupping, tyre pressure correction alone won't fix anything. Take the vehicle to a qualified mechanic or alignment shop. A four-wheel alignment check measures camber, toe, and caster angles and compares them against factory specifications. Request that the technician also inspect the suspension components - ball joints, tie rod ends, control arm bushings, and shock absorbers - while the vehicle is on the lift.
Decide whether to rotate, replace, or monitor
Once the root cause is resolved, assess each tyre's remaining usable life. If the uneven wear is minor and tread depth is still adequate across the full tread face, a rotation combined with corrected alignment can even out remaining wear. If one tyre is significantly more worn than the others - or tread depth is near the limit on any section - replacement is the safer path. Replacing tyres in axle pairs (both fronts or both rears) is standard practice to maintain balanced handling.
Tyre Wear Can Affect Braking Distance
Severely worn or unevenly worn tyres significantly reduce grip and extend stopping distances - a direct safety risk. If tread depth falls below 2/32 of an inch (the US legal minimum) or you notice extreme uneven wear, have the vehicle inspected by a qualified mechanic before continuing regular driving.
After the Fix: Monitoring Going Forward
Resolving a wear-causing problem is only half the job. Building a simple inspection habit ensures you catch the next issue before it becomes expensive. A quick visual check once a month - and before any road trip over two hours - takes less than five minutes. Pair it with a pressure check, since correct inflation is the single easiest thing you control directly.
The Quarter Test for Quick Tread Checks
Insert a US quarter into the tread groove with Washington's head pointing down. If you can see the top of his head, your tread is at or below 4/32 of an inch - getting close to the safety threshold. Do this check monthly and before any long highway trip.
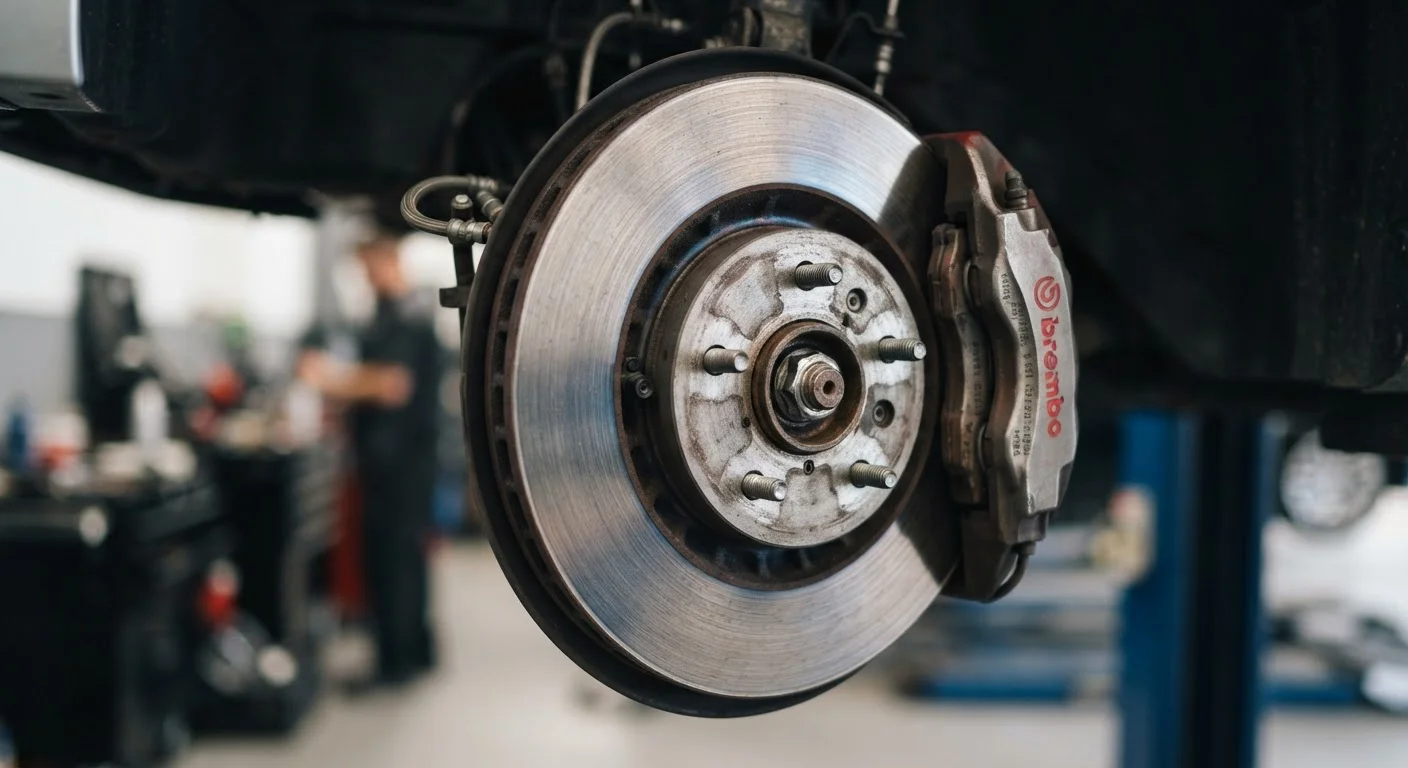
If your vehicle's tyres are wearing faster than the manufacturer's estimated tread life suggests they should, that's worth flagging to a mechanic even if the wear appears even. It may point to a subtle alignment drift or a suspension component that's softening gradually. Brake wear often accelerates alongside tyre wear issues, since the same suspension problems affect braking stability - worth checking both at the same visit.
Don't Rotate Your Way Around a Root Cause
Rotating tyres on a schedule is good practice, but rotating them onto a vehicle with an unresolved alignment or suspension problem simply spreads the damage to the other tyres. Always diagnose the underlying cause before rotating if you've spotted a wear pattern.